Overview
Skustack offers a variety of settings that can be customized on your device to significantly improve your operational workflows. The Settings are located within Skustack’s Main Menu tab and are divided into several categories based on their functionality:
- Server
- Warehouse Management
- Shipping
- Printer
- Bluetooth
- 4D Scale
- Language
- Flags
- Version
- Logs
- Device ID
Server
Through Skustack’s Server settings you can:
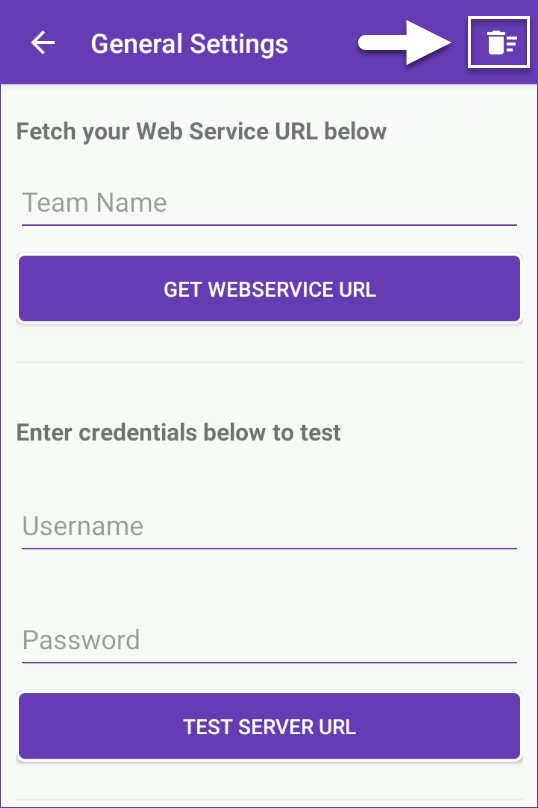
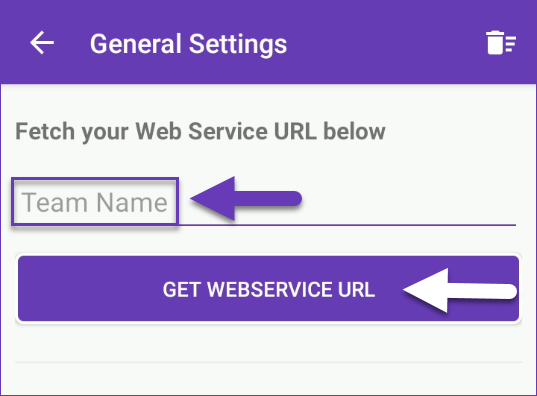
Fetch your Web Services URL
Enter your Team Name and tap Get Webservice URL to obtain your team’s URL.
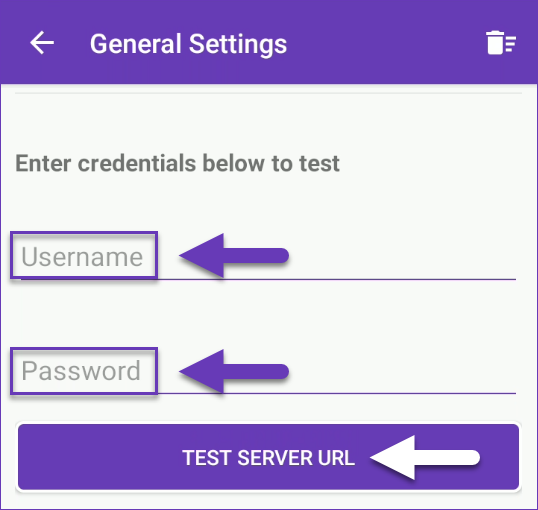
Test Credentials
Print 2D Barcode
A quick and convenient method to log into Skustack is via a 2D Barcode. To generate the 2D Barcode:
- Enter your credentials:
- Team Name
- Username
- Password
- Tap Print Barcode.

Your default printer will print a label with a QR code, which can be used to log into Skustack.
Warehouse Management
Through the Warehouse Management settings, you can adjust the aspects of your most common warehouse workflows.
Global Settings
| SETTING | DESCRIPTION |
| Advanced Trace Logs | Enables advanced log files. |
| Enable ShipVerify | When enabled, the ShipVerify tab will appear on the Main Menu. |
| Force product scan | When enabled, the product must be scanned to open the dialog window. |
| Force scan to edit progress quantity | If enabled, each unit must be scanned to edit the quantity when picking, receiving, etc. |
| Force bin scans | When enabled, the bin field must be scanned to supply bin input. |
| Force bin scans during PutAway | When enabled, the bin field must be scanned to supply bin input during PutAway. |
| Auto close success dialogs | Success dialog windows automatically close after 3 seconds. |
| Add initial scan to Qty field | Adds +1 to the Pick Qty field of the initial item scanned when the dialog opens. |
| Auto populate progress quantity when bin is selected | When a bin is selected, the Pick Qty field will automatically be set to the total quantity available in that bin, up to the quantity required. |
| Manual serial input | Allows you to manually type in the serial you are receiving/picking (otherwise the serial must be scanned). |
| Play error sound | Make a sound anytime an error message is displayed. |
| Focus field when progress dialog window opens | In the progress dialog window, manage whether to focus on:
|
| Unit of measure | Choose the unit of measurement to display weights and dimensions:
Learn more here. |
| Print labels as QR codes | If enabled, Skustack prints labels as QR codes rather than standard barcodes when possible. |
| Add selected package type weight to order package weight | When enabled, the package type‘s weight is incorporated into the order’s total weight. |
| Suggest lot numbers per product | Enabled by default, this setting provides product‑specific lot number suggestions when receiving a Purchase Order. If disabled, the system will instead display the 100 most recent lot numbers available. |
Manage Bins
| SETTING | DESCRIPTION |
| Allow search bins | Allows you to search bins. |
| Allow create bins | Allows you to create bins. |
| Allow bin transfers | Allows bin-to-bin transfer. |
| Allow quantity updates | If enabled, it allows Product Bin Adjustments up to the amount specified in Set Quantity Updates Limit field. |
| Set Quantity Updates Limit | When the Allow quantity updates setting is enabled, you can specify a Quantity Adjustment limit. |
| Allow add product to bin | Allows you to add a new product to a bin. |
| Display Product Name when doing bin adjustments/transfers | When enabled, the product name is displayed in the bin adjustment/transfer dialogs. |
| Adjustment reason | When enabled, requires a reason when adjusting inventory. |
| Sku to sku transfer adjustment reason | When enabled, requires a reason when transferring between SKUs. |
| Edit adjustment reason | Enable to allow edits of existing adjustment reasons. |
| Enable Large Adjustment Warning | If enabled, a warning message will appear whenever the adjustment quantity exceeds the amount appointed in field Set Large Adjustment Warning Qty. |
| Set Large Adjustment Warning Qty | In this field you can appoint the Large Adjustment Warning threshold. Whenever an adjustment quantity reaches this threshold, a warning notification will prompt the user to reconfirm the movement. |
| Allow start bin cycle count | When enabled, you can begin cycle counts on a bin. |
| Allow commit bin cycle count changes | When enabled, you can accept and commit the final bin cycle count. |
| Hide products with zero bin quantity | Any product that has a quantity of 0 in a bin will be hidden from the list. |
| Prompt for transfer type | When enabled, will prompt you to select what type of adjustment wanted (basic bin transfer or SKU-to-SKU transfer). |
| Require serial scan for bin transfers | When enabled, will prompt you to scan serial numbers for serialized components when doing bin transfers. |
| Require serial scan for cycle count | When enabled, will prompt you to scan serial numbers for serialized components when doing bin cycle counts. |
| Open adjustment window by default | When an item or bin is scanned in the Product bins or Manage bins, the system will open the adjustment window first. If disabled, the bin transfer window will open first. |
| Enforce restock-into bin | When managing Restock Lists, the only possible restock-into 24pxwill be the one set on the Restock list. |
| Allow overpick restock list | If enabled, overpicking of products will be permitted when managing Restock lists. |
| Restrict Bin Transfers Between Regions | If enabled, transfers between different Warehouse Regions will not be allowed. |
Product Settings
| SETTING | DESCRIPTION |
| Allow edit product info | Allows you to edit product information. |
| Allow create products | Enables you to create new products. |
| Allow manage serials | Allows you to enable the setting Required Serial Scan on a product from the Product Info module. |
| Allow manage aliases | Enables you to manage the aliases in the Product Info module. |
| Allow SKU to SKU transfers | Allows inventory transfers between product SKUs. |
| Auto print new product labels | When enabled, will automatically print labels for the new product after Sku to Sku transfers. |
| Set Label Type | Select label type to be auto printed after Sku to Sku transfers:
|
| Downsize warehouse images | When enabled, will save warehouse images as thumbnails. When disabled, warehouse images will be saved as full size. |
| Enforce product pallet qty for Pallet Items | When adding an item to a pallet, the setting enforces a Pallet Qty limit as set on the product. |
| Hide product images | When enabled, product images will no longer be displayed throughout the interface. |
| Enter expiration date on FBA Labels | Enables you to manually include an expiration date when printing FNSKU labels. |
| Require Oldest Expiry Date | When enabled, you will be required to select the lot with the shortest remaining shelf life. Picking and shipping items closest to reaching their expiration dates first helps you minimize the risk of accumulating dead stock. |
Kit Assembly Settings
| SETTING | DESCRIPTION |
| Require component serial scan if necessary | When enabled, will prompt you to scan serial numbers for serialized components. |
| Scan to assemble | If enabled, components scan will be required during Kit Assembly workflows. |
| Auto print kit labels | Automatically print kit labels after assembly. |
| Auto close after fully assembled | Close the KitAssembly Prep Session activity after all kits are assembled. |
Picklist Settings
| SETTING | DESCRIPTION |
| Auto print PickList Order Confirmation Labels | When enabled, confirmation labels will be printed automatically for fully picked orders, as per the selected Auto print PickList Order Confirmation Labels Mode. |
| Auto print PickList Order Confirmation Labels Mode | Sub-setting of Auto print PickList Order Confirmation Labels, which defines the mode to print automatic confirmation labels:
|
| Include user name on PickList Order Confirmation Label | Enable this setting to include the email of the user who picked the order to the confirmation label. |
| Print kit parent SKU on PickList Order Confirmation Label instead of component SKU | Activate to include the kit parent SKU instead of component SKU, when printing order confirmation labels for kit products. |
| Print UPC on PickList Product Order Confirmation Label | Enable this setting to substitute SKU for UPC on picklist product order confirmation labels. |
| Allow partial picked label print | Allows printing of confirmation labels even when not fully picked. |
| Auto close after fully picked | Automatically closes the dialog window when fully picked. |
| Auto close when QtyToPick is full | When the Qty Picked is equal to the Qty Required, the product will be picked automatically without having to tap the Pick button. |
| Display Product Name when picking | Shows the product name in the pick dialog. |
| Slide to pick | When enabled, you can slide the progress bar in the pick window to increase the quantity. |
| Require serial scan when picking | When enabled, will force the user to scan serials for products that are set to require serial scan. |
| Allow Unpick | Enable this setting to allow unpicking of products from the pick dialog. |
| Auto print FBA box label when picking | If enabled, FBA box labels will be printed automatically when the items in the box are fully picked. |
| Auto print FNSKU label when picking an item for an FBA shipment | When enabled, FNSKU labels will be printed automatically when an item is picked for FBA shipments. |
| Enable pick and ship | This setting enables the pick and ship workflow. |
| Enable ship from warehouse warning | For Order Based picking, you will see a warning message if you try to pick an order that is set to Ship From a different warehouse than the one you are currently logged into. |
| Restrict picking an order not on a picklist | Once enabled, you cannot initiate picking via an order ID in the Order Based module. A picklist ID must be used instead. |
| Auto print SKU label for every unit picked | Enable this setting to automatically print a SKU label for each unit as it is picked. |
| Bypass serial number validation while picking | Enable this setting to skip serial number validation during product picking, even if scanning is mandatory. |
Receiving Settings
| SETTING | DESCRIPTION |
| Only include open POs | Only load POs with ordered status. |
| Sort POs by SKU | If this setting is enabled, POs will be sorted alphabetically by SKU rather than by bin suggestion. |
| Use Receiving Bin | Enable to only allows receiving into the Receiving bin. |
| Prefill Bin To field with previously received into bin | When a SKU is partially received on a PO, Skustack will automatically populate the Bin To field with the bin where the SKU was previously received for this PO, once the receiving process is resumed. |
| Only suggest bins with existing qty | When enabled, Skustack will not suggest bins with zero quantity of the product during receiving, putaway and kitting workflows. |
| Prompt for dimension | If dimensions aren’t set, will prompt you to set them when the product is scanned for the first time. |
| Require serial scan if necessary | When enabled, will force the user to scan serials for products that are set to require serial scan when receiving. |
| Auto close after fully received | Closes the PO when everything on the PO is received. |
| Auto close when QtyToReceive is full | If enabled, the receiving dialog will automatically close when the QtyToReceive is reached. Also applicable to PutAway lists. |
| Send email on leave PO | Upon exiting the PO, a prompt to send an email for all products received in the session will be displayed. The sending method depends on the selected Send email on leave PO mode. |
| Send email on leave PO mode | Sub-setting of Send email on leave PO, which defines the sending mode based on the chosen option:
|
| Auto print labels on receive PO | Automatically print product labels upon PO receival. The label type depends on the Set PO Label Type. |
| Set PO Label Type | Sub-setting of Auto print labels on receive PO, which defines the details included in the receiving PO labels:
|
| Print expiration date on auto print label PO | When enabled with the Auto print labels on receive PO setting, the received PO product expiration date will be included on the automatically printed product labels. |
| Allow backorder picklist Picking | Enables the Cross-dock Workflow. |
| Only load POs marked Release for Receiving | When enabled, Skustack will only load POs that are marked as Release for Receiving in Sellercloud. |
| Enforce single unit scanning during Receive to Light | If enabled, it activates a prompt to scan the sorting slot each time you place an item in it. |
| Enforce single unit scanning during PutAway | If enabled, you will be required to scan each unit during the putaway workflow. Be sure to also disable the Add initial scan to Qty field setting, as it interferes with this feature. |
| Enable warning when over receiving | If activated, a warning message appears when you’re receiving more than the ordered quantity. |
ShipVerify Settings
| SETTING | DESCRIPTION |
| Auto close after ShipVerified | Automatically closes the dialog window when ShipVerified. |
| Auto close window when item QtyToVerify is full | When the QtyToVerify is reached, the order will be verified automatically without tapping the Verify button. |
| Allow ShipVerified Advanced | When enabled, ShipVerify’s Advanced Mode appears as a selectable workflow for package verification. |
Work Order Settings
| SETTING | DESCRIPTION |
| Grade While Picking In Grading Work Orders | When enabled, you can grade products while picking in the Grading Work Order workflow. |
| Require Serial Scan When Grading | If enabled, you’ll be required to scan Serial Numbers when picking products in Grading Work Orders. |
| Allow Unlock Work Order | When enabled, the setting allows you to add and edit Work Order products using your device. |
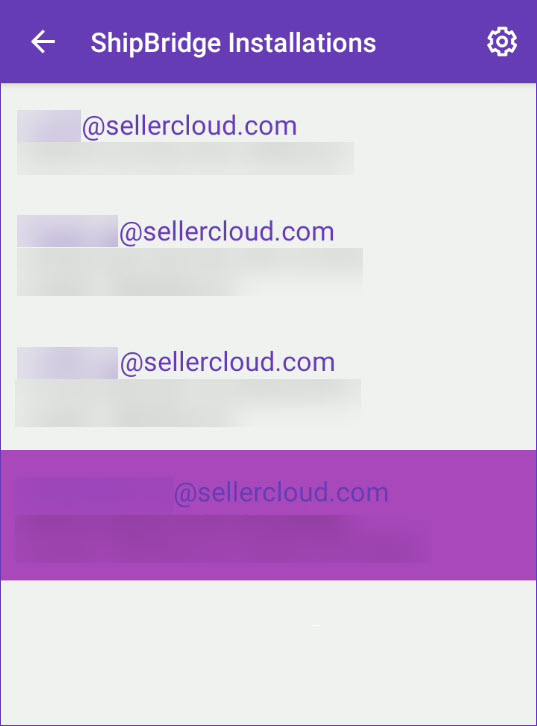
Shipping
In this section, you can select a Shipbridge Installation to integrate with your Skustack device. More information on how to configure Shipbridge with Skustack can be found here.
Printer
Label printers can be connected to Skustack via Bluetooth, WiFi, and RTC.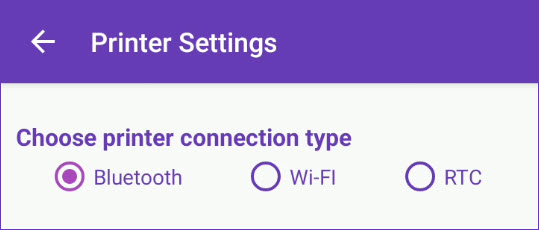
In the Printer settings, you can select and configure a printer and send a test print job to verify the established connection.
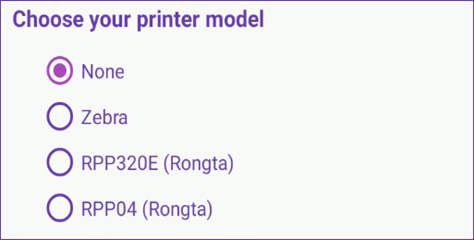
- Choose your printer model:
- None
- Zebra
- RPP320E (Rongta)
- RPP04 (Rongta)
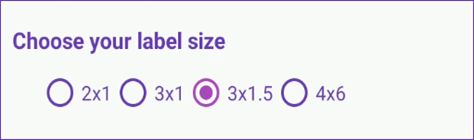
- Select the label size:
- 2×1
- 3×1
- 3×1.5
- 4×6 – Rongta RPP320E doesn’t support this label size.
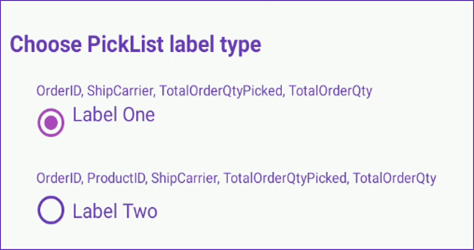
- Choose Picklist label type:
- Label One – Typically used for Order Based picking. Prints out one label per order with OrderID, Ship Carrier, Total Order Qty Picked, Total Order Qty. Use in conjunction with WM Setting above: – Auto Print Fully Picked Orders.
- Label Two – Typically used for Product Based picking. Prints out one label per Unit with OrderID, Product ID Ship Carrier, Total Order Qty Picked, Total Order Qty. Use in conjunction with WM Setting above: – Auto print for every unit picked.
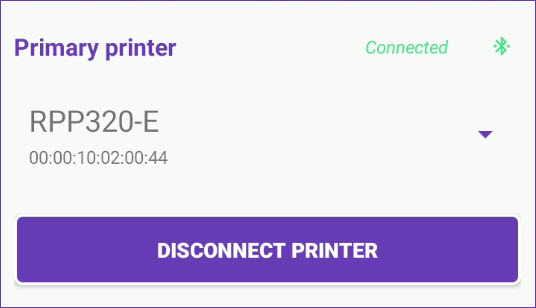
- Primary printer – Select the primary printer from the dropdown (only paired devices will show in this list) and connect.
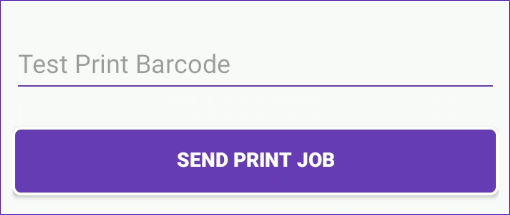
- To test print a label, enter a Test Print Barcode and tap Send Print Job.
- To disengage your printer, tap Disconnect Printer.
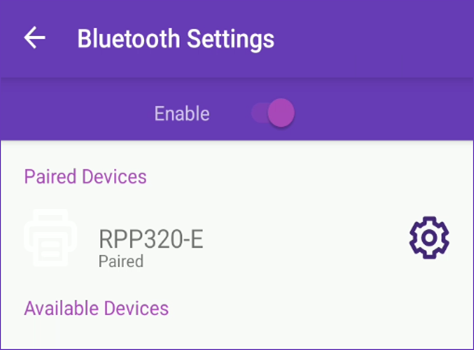
Bluetooth
In the Bluetooth settings, you can enable your device’s Bluetooth settings to find all paired and available devices. You can also assign/unassign the primary printer here.
Find more information on setting up a Printer here.
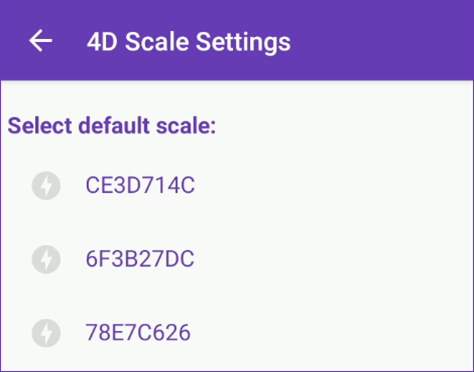
4D Scale
In the 4D Scale settings, you can select the default 4D Scale to use to pull in weights and dimensions throughout Skustack.
Find more information about integrating a 4D Scale here.
Language
Easily switch Skustack’s language between English and Spanish using this option.

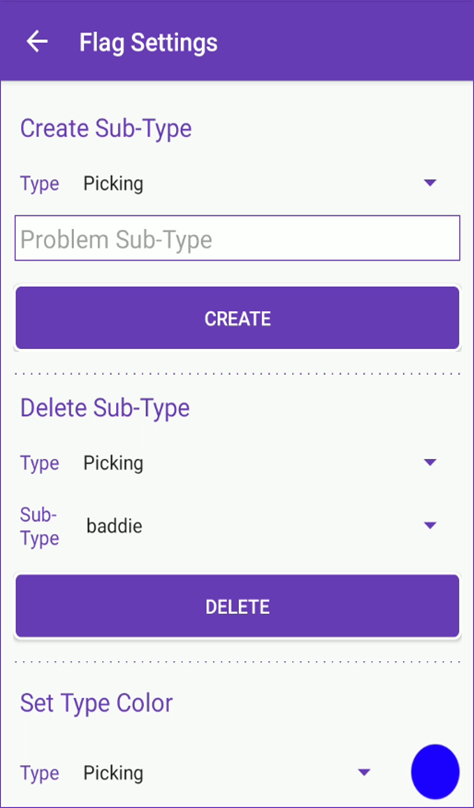
Flags
In the Flags settings, you can create flag sub-types and set flag colors. Find more information on managing product flags here.
Version
Your current Skustack version is displayed in this section.  Tap Version to view the application’s release history and to download the latest one.
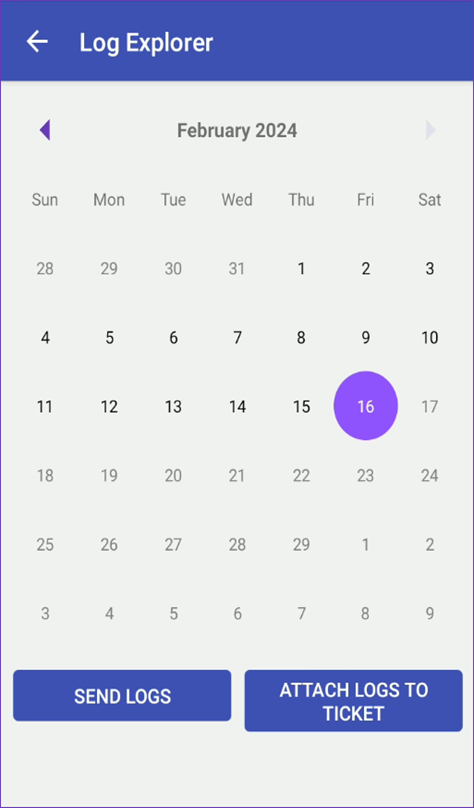
Logs
Here you can locate and send your Skustack Logs to Sellercloud Support via email or ticket.