Overview
Skustack allows you to organize multiple storage bins into Warehouse Bin Groups with a similar purpose. Bin Groups serve as effective filters for inventory searches, cycle counts, and picking operations. They are especially beneficial for 3PL operations, enabling the direct categorization and filtering of stock locations by client groups.
Manage Warehouse Bin Groups
Bins can be grouped by shared characteristics like location, client, product type, storage conditions, or workflow stage. To utilize such groups, you must first create them and then add bins to them.
Create Bin Groups
To create Bin Groups:
- Navigate to the Skustack Admin portal at https://xx.skustack.com (replace “xx” with your server ID or team name).
- Enter your login credentials.
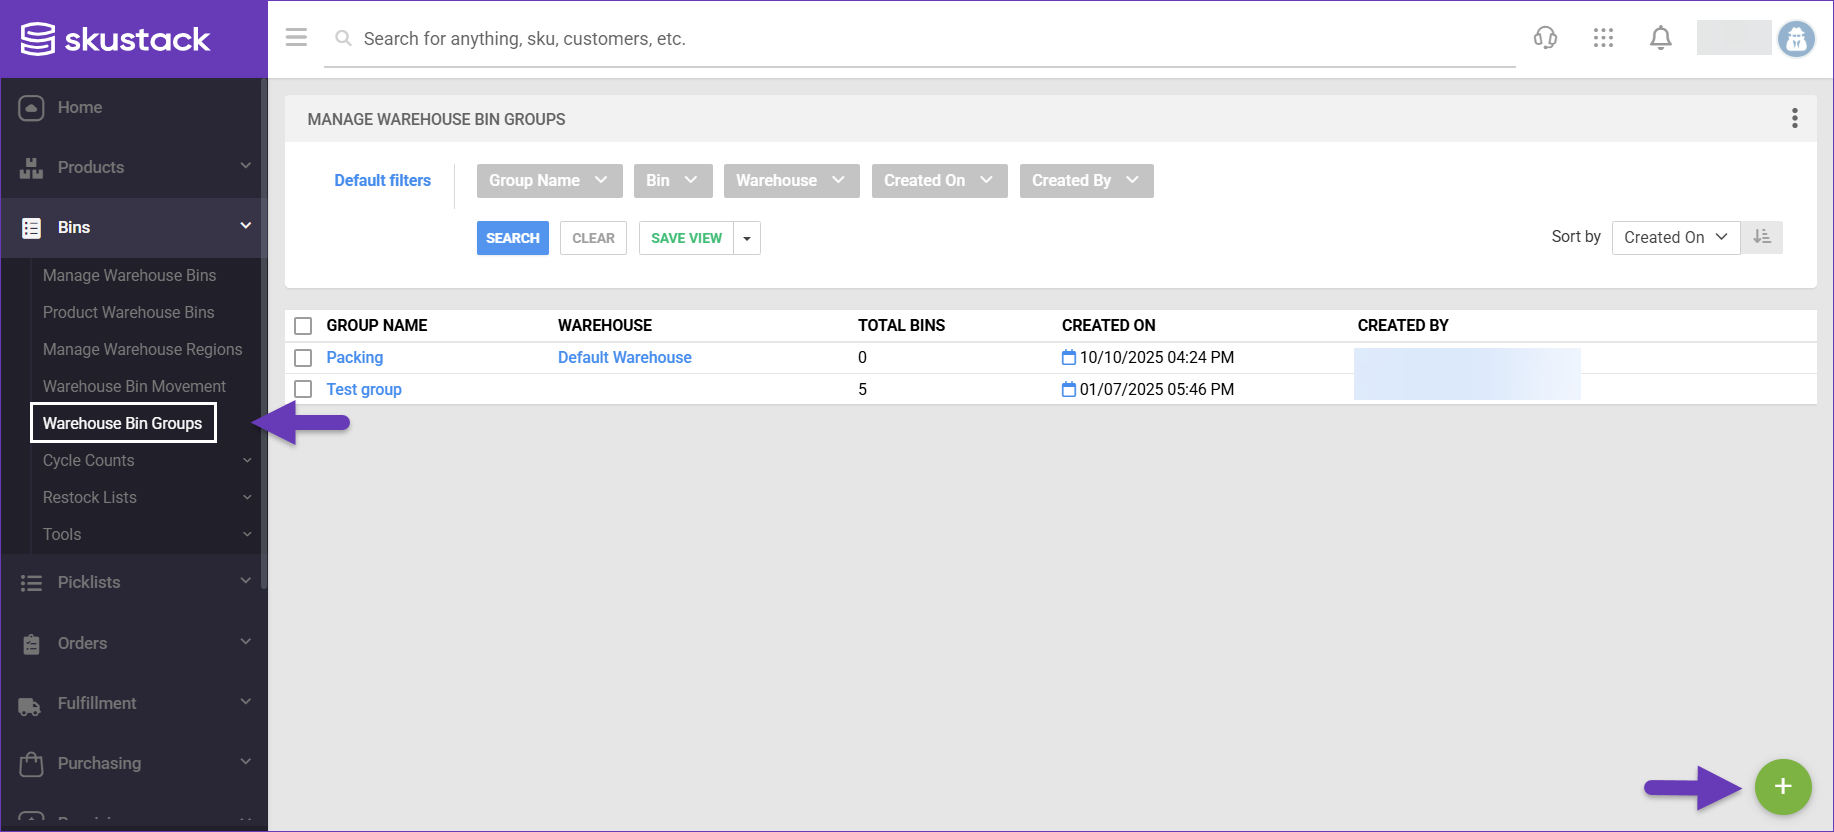
- On the left, select Bins > Warehouse Bin Groups.
- Click the + icon at the lower right-hand corner.
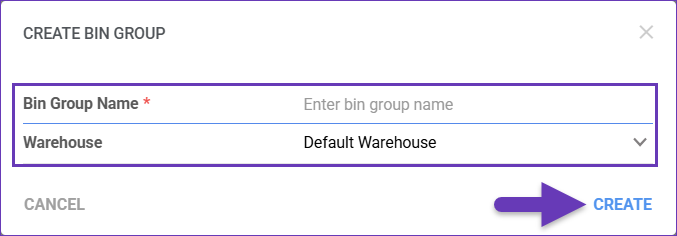
- Enter a Bin Group Name.
- Select the Warehouse, for which the group applies.
- Click Create.
Add Bins to Groups
You can move bins into Groups either individually or in bulk.
Individually
To add an individual bin to a Group:
- Navigate to Bins > Manage Warehouse Bins and open the required Bin.
- From the Actions dropdown, select Move Bin To Group.

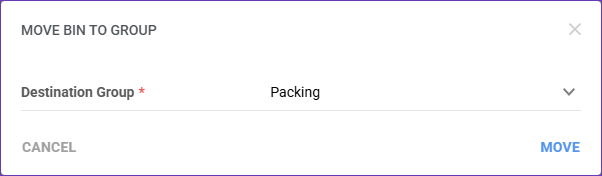
- Choose a Destination Group and click Move.

In Bulk
To add multiple bins to a Group:
- Navigate to Bins > Manage Warehouse Bins.
- Filter and select the required bins.
- Open the Actions menu and click Move Bins To Group.
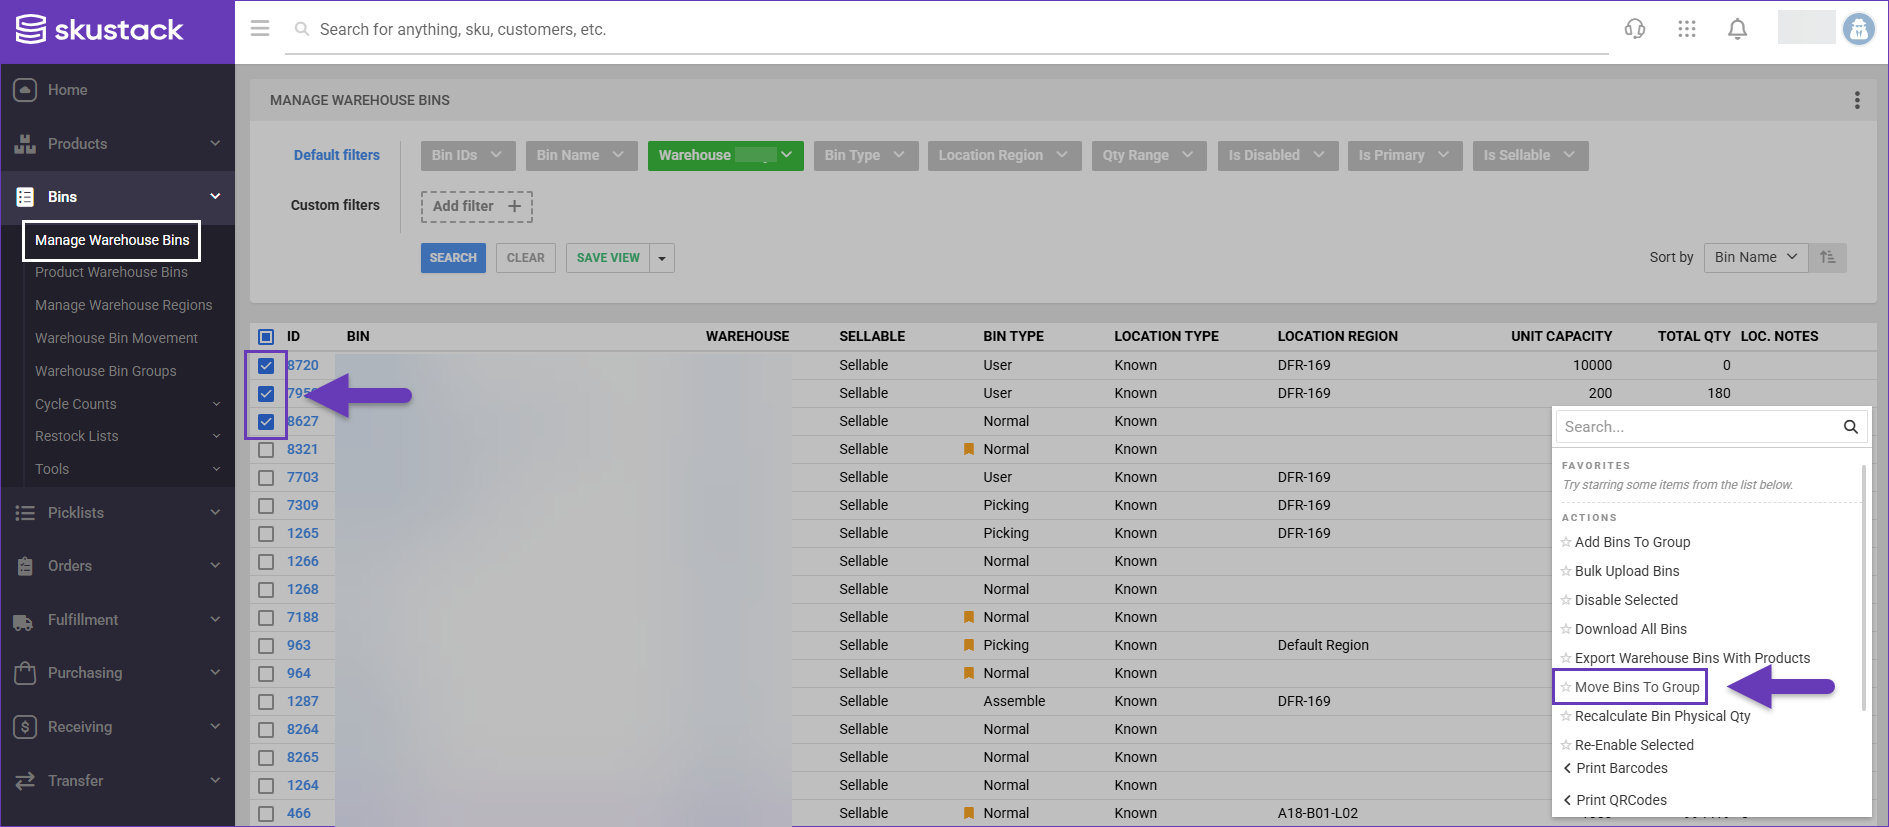
- Choose a Destination Group and click Move.
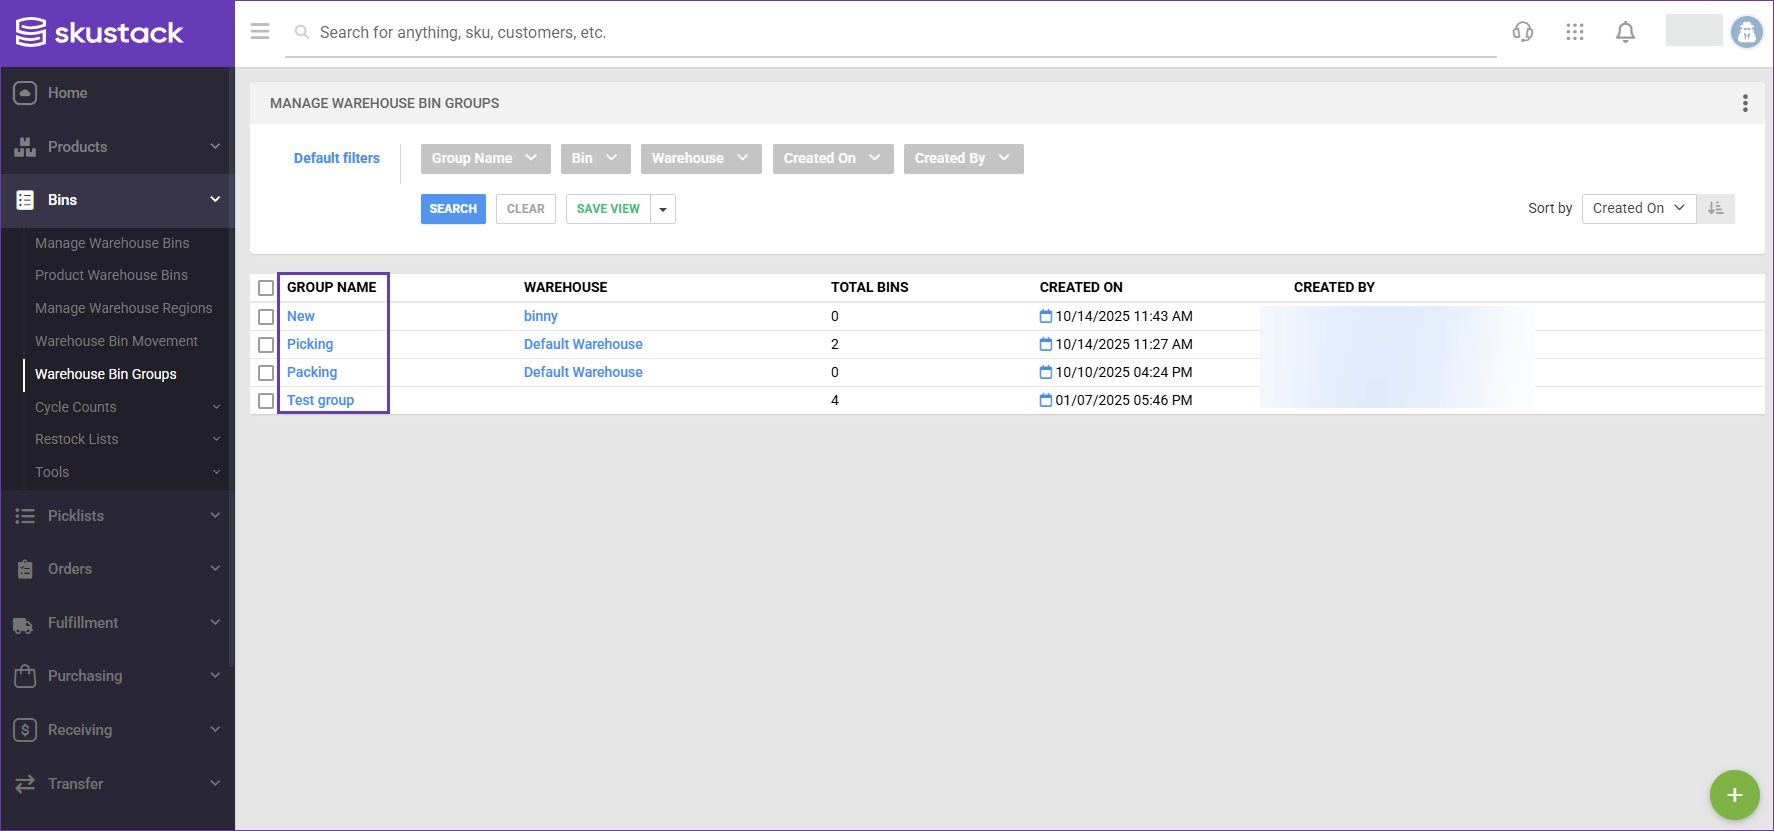
Search Bin Groups
To find existing Bin Groups:
- Navigate to Bins > Warehouse Bin Groups.
- Configure your Default filters to make sure that the results display exactly what you need.
- Click Search. Each filter you apply gets highlighted. If a filter is gray or not displayed at all, it’s not active.

- To manage the columns in the grid, click the three dots icon on the top right and select Customize Columns.
- To arrange the data in a different order, use the Sort by menu.
- To save your filtering and sorting options, click Save View, enter a Name, and click Save.
Remove Bins From Groups
In case you need to reorganize your group, you can remove bins either individually or in bulk.
Individually
To exclude an individual bin from a Group:
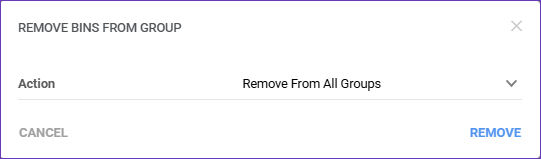
- Open the required bin’s Actions menu and select Remove Bin From Group.
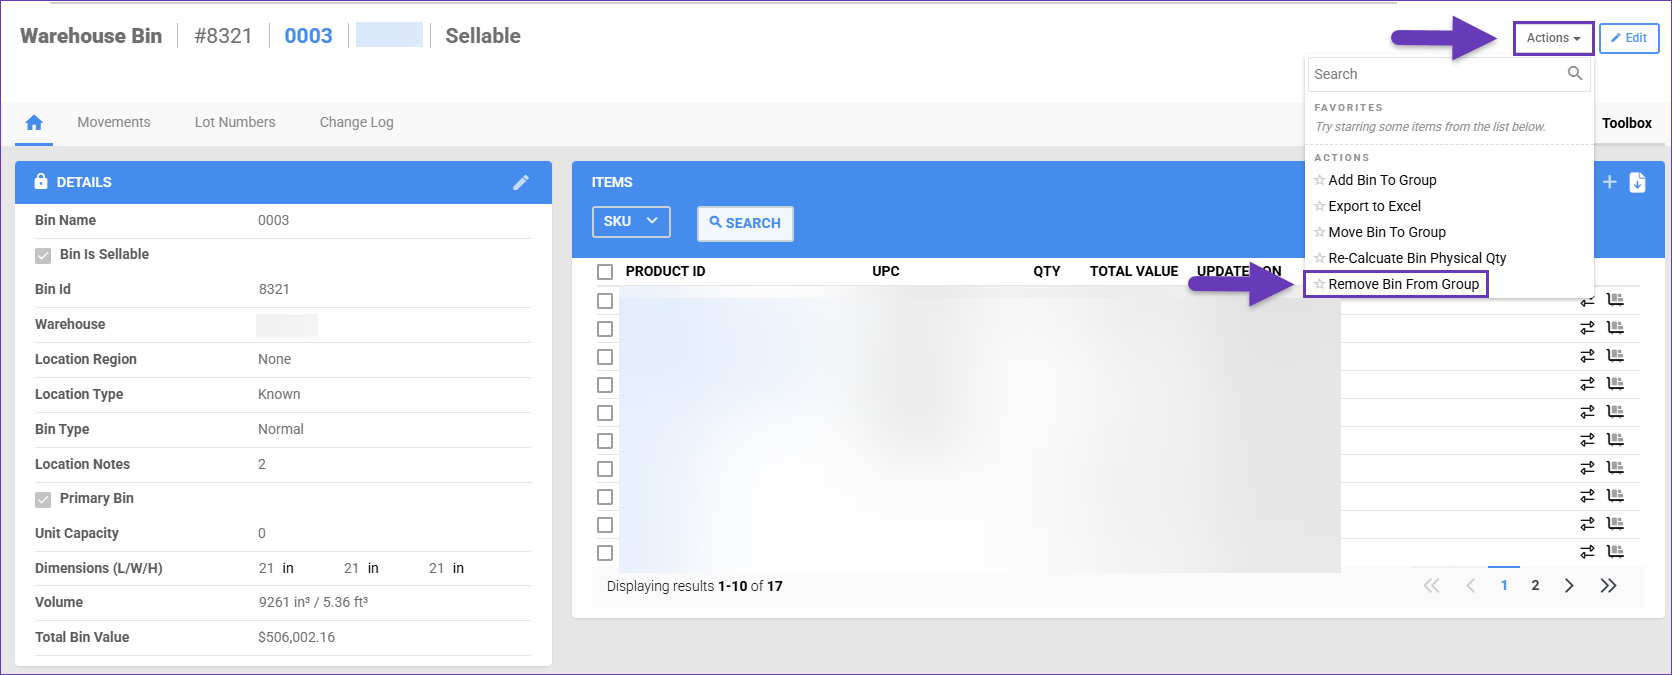
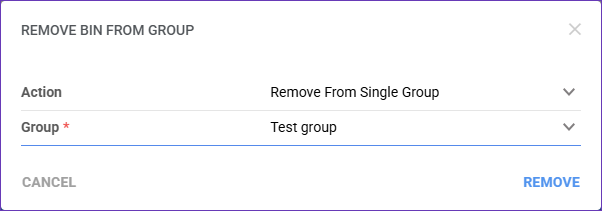
- Choose, from which Group to exclude the bin.
- Click Remove.
In Bulk
To exclude multiple bins simultaneously:
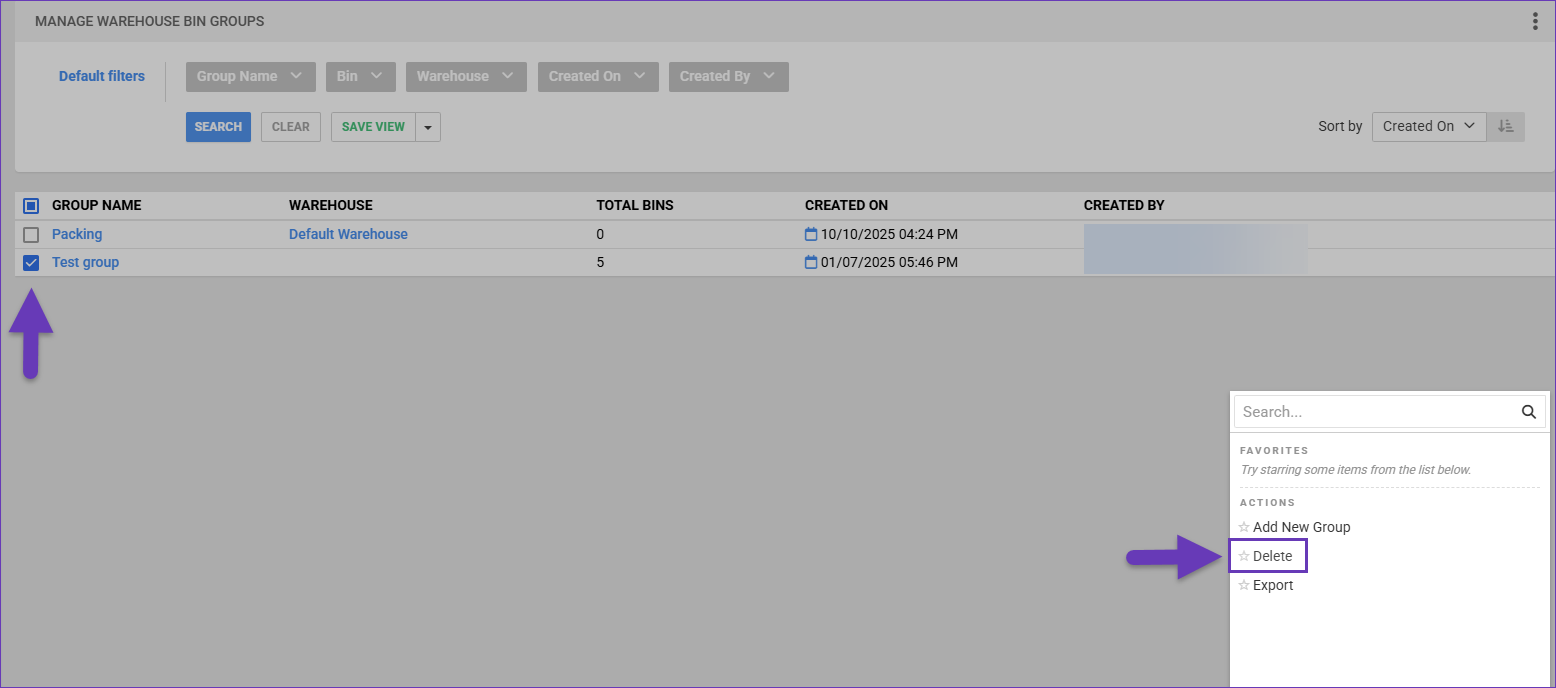
- Navigate to Bins > Warehouse Bin Groups.
- Choose the Group Name that you want to alter, and its respective Bins will load.
- Select which Bins to exclude from the group, open the Actions menu and click Remove Bin From Group.
- Choose, from which Group to exclude the bin, and click Remove.