
Overview
One Way Transfers are a straightforward method for moving multiple items or units into or out of bins. While individual adjustments can be made from the Product tab, a One Way Transfer groups the items together, making it easier to trace movements and filter by the Transfer ID. They differ from Warehouse to Warehouse Transfers in terms that you don’t need to specify a source location when bringing inventory in, or a destination when moving inventory out.
Creating and working on one way transfers is possible through the Skustack App, while monitoring their progress, exporting data, and closing completed transfers can be done through the Skustack Admin.
Manage One Way Transfers
The One Way Transfer module is located within Skustack’s Transfers tab.
Search One Way Transfers
You can search for One Way Transfers in one of the following ways:
- Search by ID – Search for a specific Transfer ID.
- Search All – Search for all transfers. You can filter by:
- Type
- Defaults to all. You can choose from the following:
- Transfer In – Transfers that lead to an inventory level increase.
- Transfer Out – Transfers that lead to an inventory level decrease.
- Status
- Defaults to all. You can choose from the following:
- Pending – Transfers that are yet to be initiated.
- Partially Completed – Initiated Transfers that are yet to be completed.
- Completed – Processed One Way Transfers.
- ErrorStatus – Transfers that cannot be completed due to a system error.
- Deleted – Transfers that have been reversed and deleted.
- SKU/UPC
- Narrow down the search results even further by searching for a specific SKU/UPC

Create One Way Transfers
To create a One Way Transfer request, follow the steps below:
- Navigate to Transfers > One Way Transfer.
- Tap the + icon and select the transfer type:
- TransferIn
- TransferOut
- Enter a Title for the transfer and add notes, if applicable.
- Tap Create.
- Scan products to add to the transfer or swipe the header down to add a product manually (Show me where!).
- Scan/enter the quantity you are moving and specify a bin.
- If the Lot Number workflow is enabled for your company and the product is set as expirable, you must select a Lot Number.
- Tap Add.
- Continue scanning/entering all SKUs that need to be included in the transfer.
- When done, tap the Transfer icon at the top to complete the operation.
- Upon a successful transfer, a message will appear to confirm that the action was completed. The inventory movement will be reflected in Sellercloud immediately.
Reverse One Way Transfers
If you have transferred something by mistake, you can reverse your transfer. This action will return the inventory quantity to its previous levels.
- Open your desired Transfer#.
- Locate and tap the SKU you want to reverse or delete.
- Tap the Reverse action if you want to undo the transfer, or delete the SKU if you no longer want it to be transferred.
Delete One Way Transfers
In case you would like to delete a Transfer, you must first Reverse it as described above. Once a Transfer is reversed, simply tap on it and select Delete.
Manage One Way Transfers
The Skustack Admin portal allows you to search, edit, close, and export your One Way Transfers.
Search One Way Transfers
To search for your One Way Transfers:
- Navigate to the Skustack Admin portal at https://xx.skustack.com (replace “xx” with your server ID or team name).
- Enter your login credentials.
- On the left, select Transfer > Manage One Way Transfers.
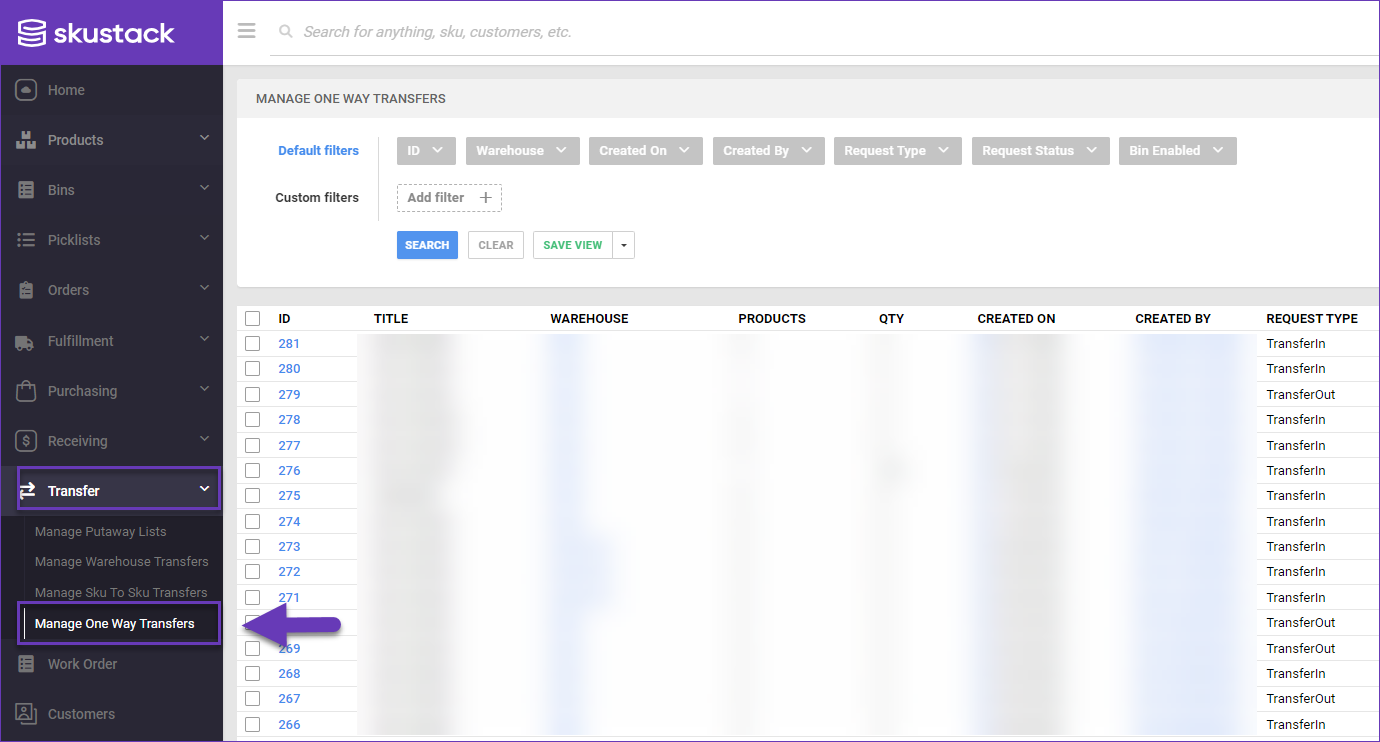
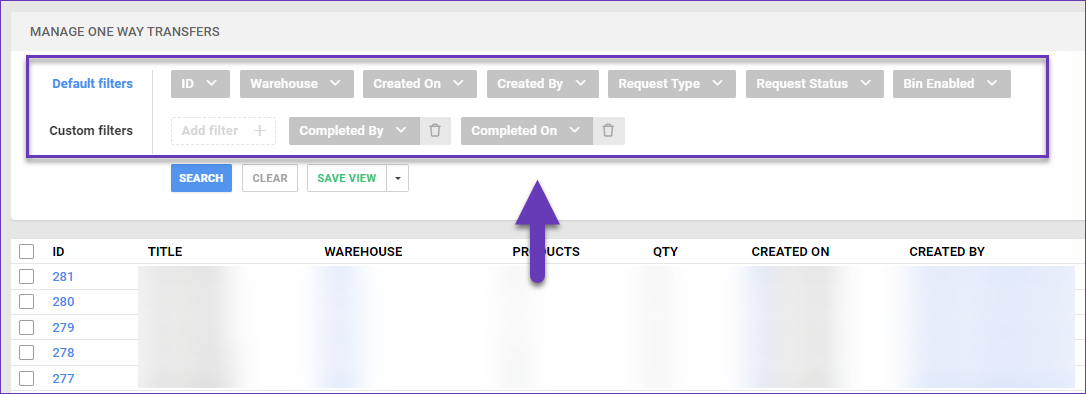
- Configure your Default filters to make sure that the results display exactly what you need.
- Click Search. Each filter you apply gets highlighted. If a filter is gray or not displayed at all, it’s not active.
- To manage the columns in the grid, click the three dots icon on the top right and select Customize Columns. You can:
- Reorder columns by dragging them up or down in the list;
- Hide columns by clicking the Trash icons;
- Add columns by clicking Add column.
- To arrange the data in a different order, use the Sort by menu.
- To save your filtering and sorting options, click Save view, enter a Name, and click Save.
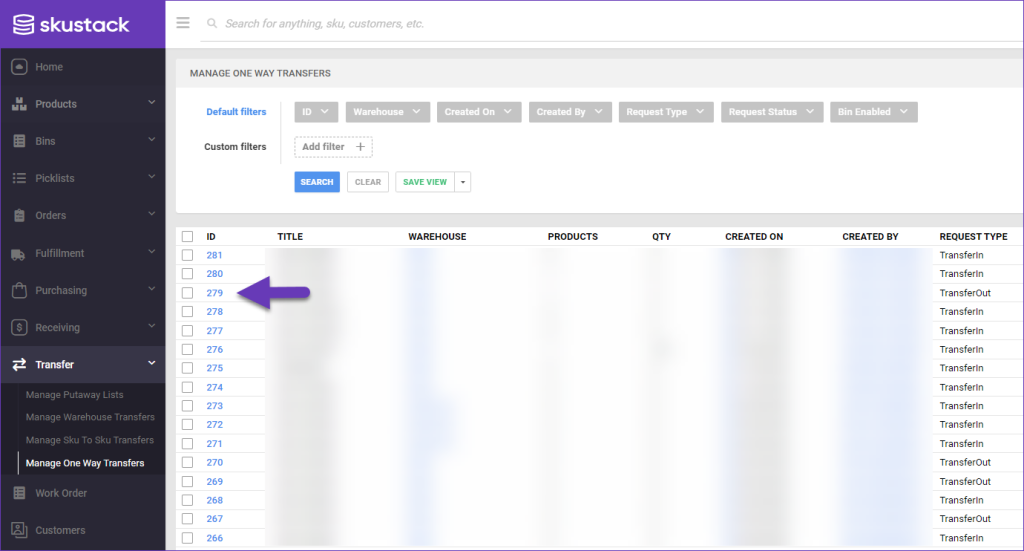
- Click on the Transfer ID to open a specific transfer.

Edit Transfer Warehouse
Through the Skustack Admin portal, you can update a Transfer’s warehouse:
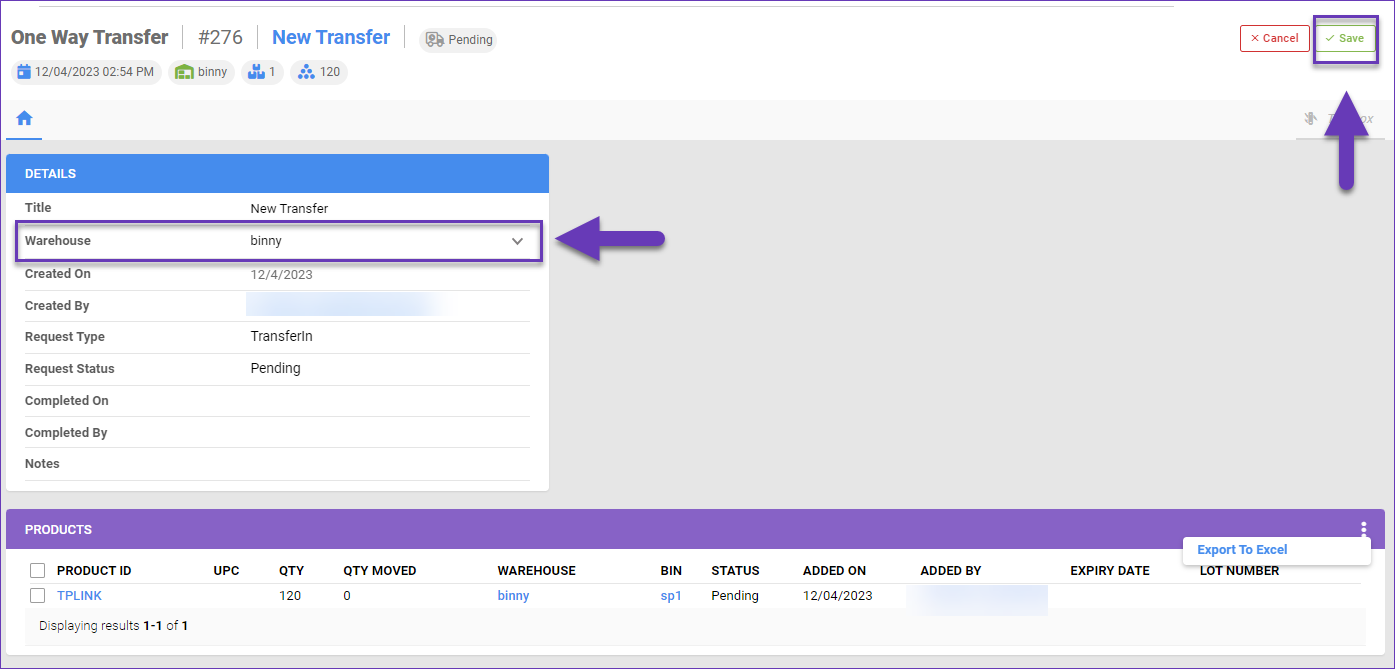
- Search for the desired Transfer and open it.
- Click on Edit.
- Choose the required Warehouse from the respective dropdown and click Save.
Export Transfer Products
You have the option to export a file with selected products, included in a specific Transfer:
- Open the required Transfer and click Edit.
- Check the Product IDs that you wish to include in the export and click on the ellipsis to Export To Excel.
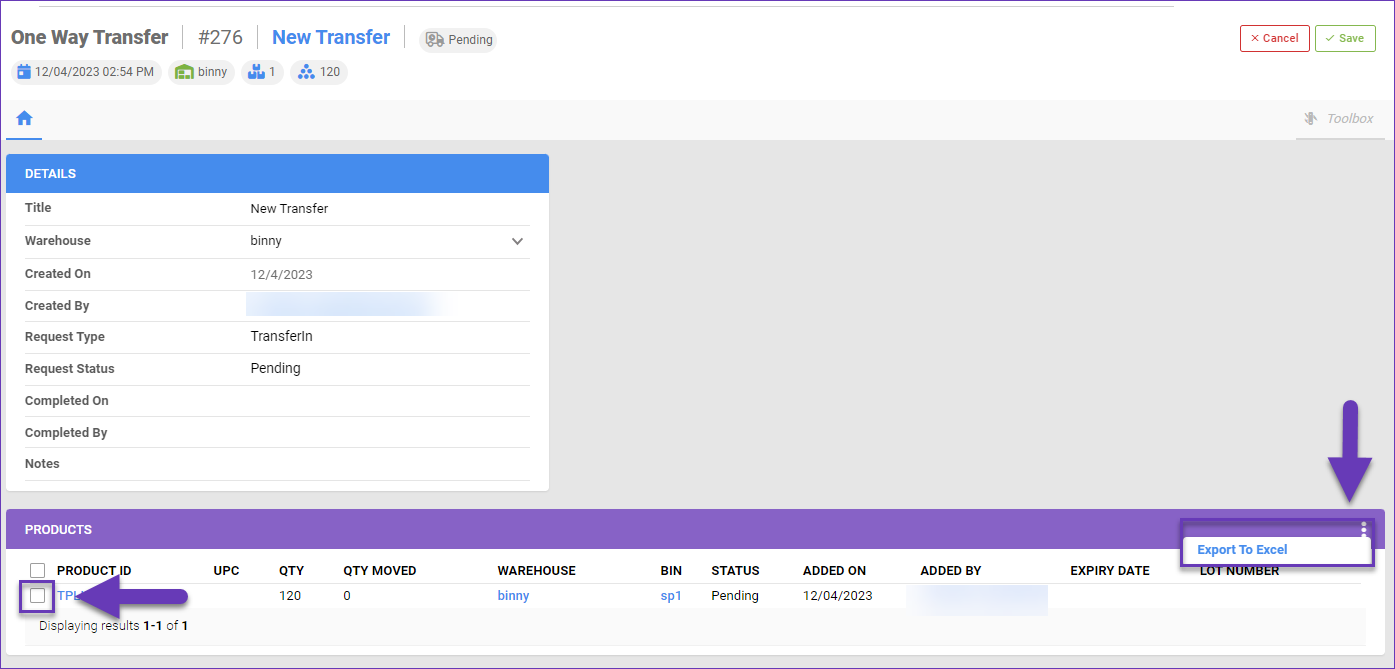
- Choose a location to save the export. Once exported, the file contains the following columns:
- RequestID – The Transfer ID.
- ProductID – The transferred products SKUs.
- Qty – The transferred product quantity.
Close One Way Transfers
Whenever a One Way Transfer has been successfully processed, its status updates to Completed. You can utilize Skustack to close such transfers to accommodate your internal business processes. For example, you can keep track of transfers that are completed by changing their status to Closed. To achieve this:
- Navigate to Transfer > Manage One Way Transfers.
- Check the desired Transfer IDs and click on the Action icon in the bottom right corner.
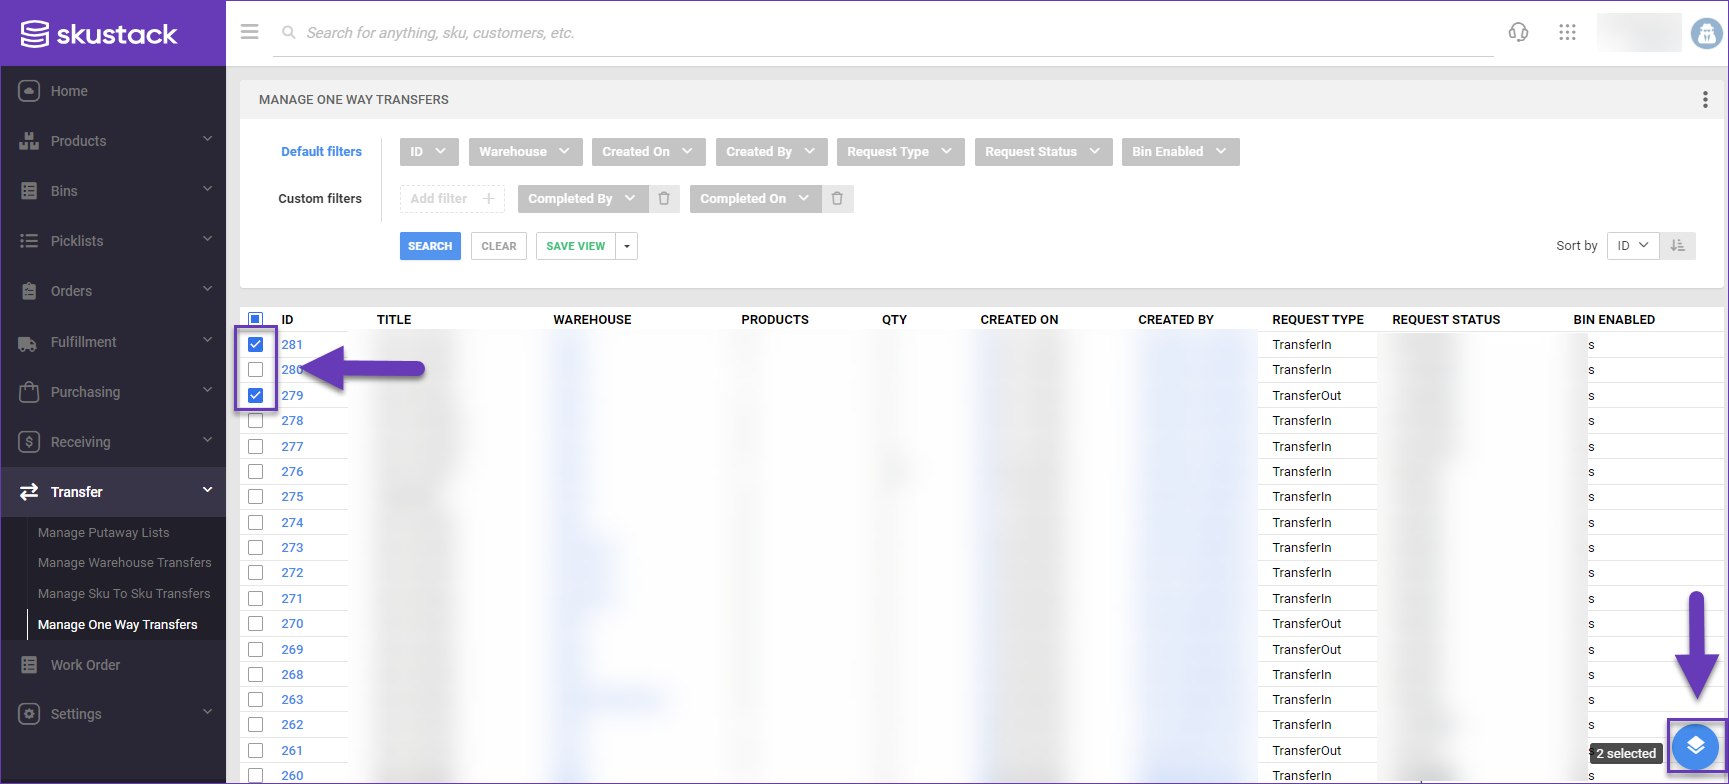
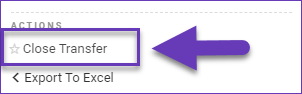
- Select Close Transfer.
- A success message will validate the transfer’s closure.

Export One Way Transfers
In case you would like to export transfer information into an Excel sheet:
- Navigate to Transfer > Manage One Way Transfers.
- Check the desired Transfer IDs and click on the Action icon in the bottom right corner.
- Select Export To Excel and choose to either include products, or not.

- Choose a location to save the export. Once exported, the file contains the following columns:
- ID – The Transfer unique identifier.
- Title – The title of the Transfer.
- Warehouse ID – Affected Warehouse ID.
- Warehouse Name – Affected Warehouse name.
- Total Products – Total number of affected SKUs.
- Total Qty – Total number of transferred items.
- Created On – Transfer’s creation date.
- Created By – Transfer’s creator email.
- Request Type – Depending on the transfer type, the displayed value will be either TransferIn or TransferOut.
- Bin Enabled – The value depends on the Warehouse type – either YES for Bin Enabled, or NO for Non Bin Enabled.
- Completed On – Date of transfer’s completion.
- Completed By – The email of the person who completed the transfer.
- Notes – Any available transfer notes will be present in this field.
- ProductID – Available only, if the appropriate action is selected.
- Qty – Planned product quantity.
- Qty Moved – Actual transferred product quantity.