Overview
When moving inventory between different warehouse locations, merging stock, or consolidating inventory from different sources, you may need to transfer inventory or import new inventory counts. The Import Product Info feature within the Skustack Admin allows you to seamlessly import this information in bulk, instead of entering each transfer or count individually. This ensures efficient and accurate inventory tracking.
Import Product Info
To import product information:
- Navigate to the Skustack Admin portal at https://xx.skustack.com (replace “xx” with your server ID or team name).
- Enter your login credentials.
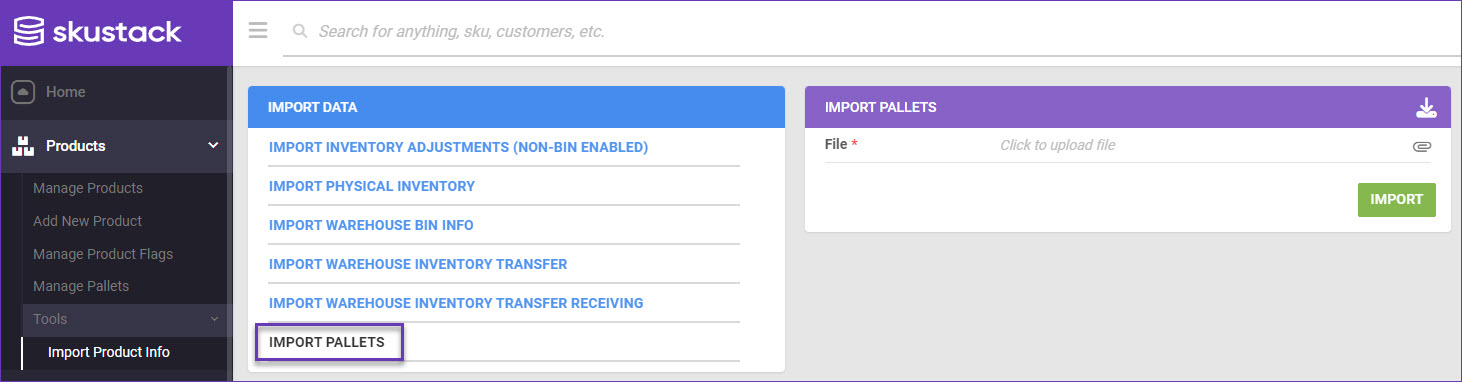
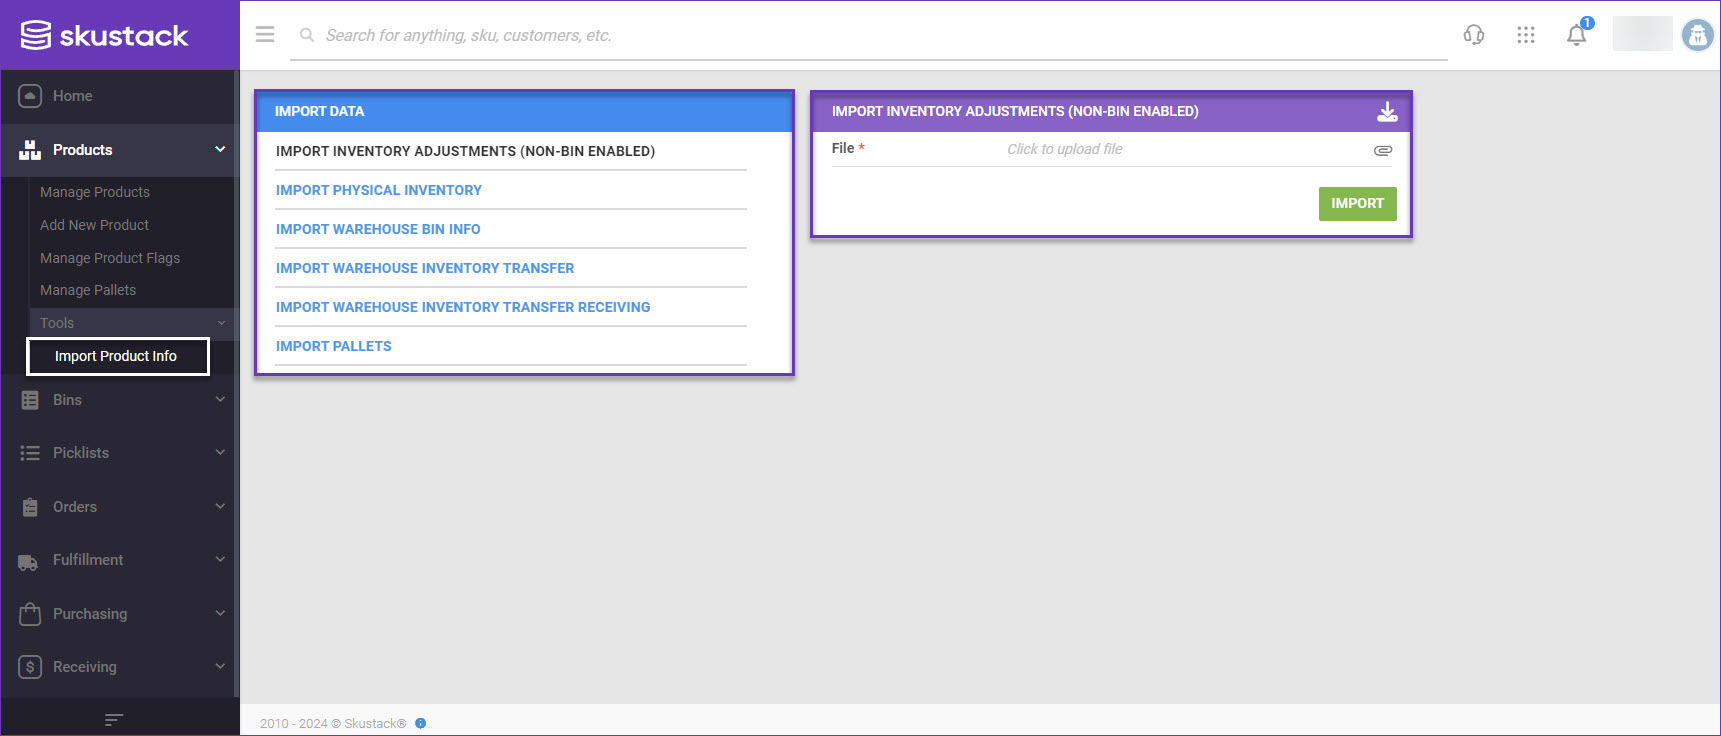
- On the left, select Products > Tools > Import Product Info.
- Choose your import type in the Import Data panel:
- Import Inventory Adjustments (Non-bin enabled)
- Import Physical Inventory
- Import Warehouse Bin Info
- Import Warehouse Inventory Transfer
- Import Warehouse Inventory Transfer Receiving
- Import Pallets
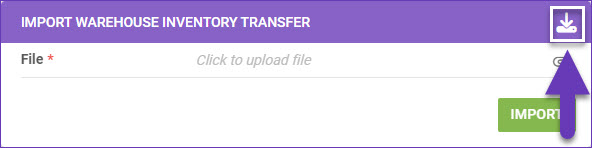
- Click the Download icon to download a template in an Excel, CSV, or Tab Delimited format.
- Fill out the template and Import it back when you are ready to apply the changes.
Import Inventory Adjustments (Non-bin enabled)
You can easily adjust the physical quantity of a product through an Inventory Adjustments import. For example, if a product is damaged in the warehouse, you can use the import to decrease the inventory by entering -1. Similarly, if you find additional inventory that was not previously recorded, you can adjust the quantity to reflect the actual stock. To utilize this import:
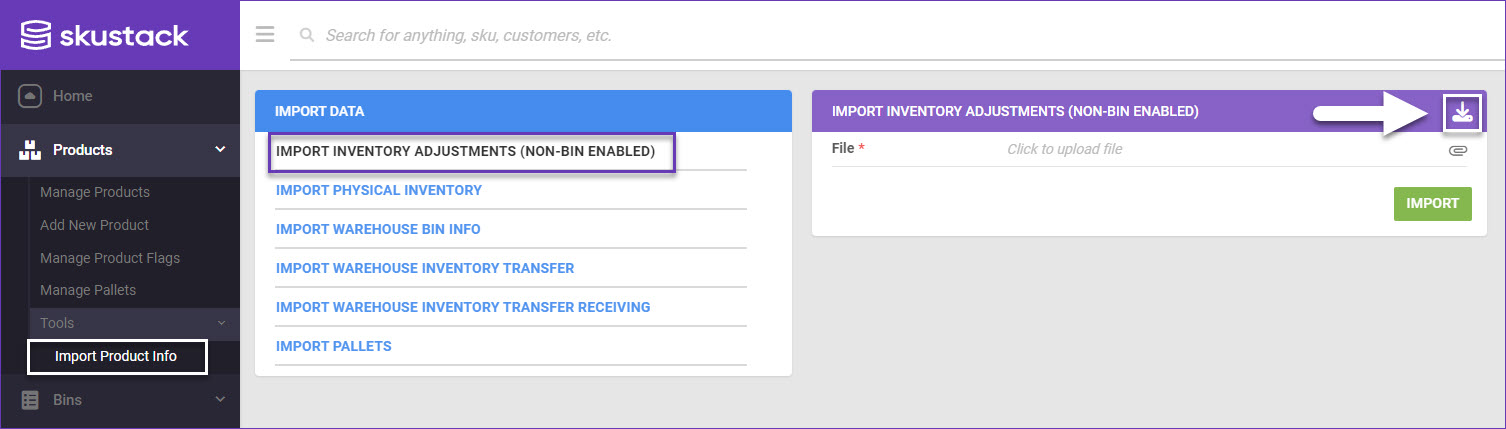
- Navigate to Products > Tools > Import Product Info.
- Select Import Inventory Adjustments (Non-bin enabled).
- Click the Download icon at the top right of the Import Inventory Adjustments panel to download a spreadsheet template in the desired format (TAB Delimited, CSV or Excel).
- Populate the columns in the downloaded template:
- ID – The adjustment’s unique identifier. This is not required when you create new adjustments; you only need to enter it when updating an existing adjustment.
- ProductID – The SKU of the product being adjusted.
- WarehouseName – The name of the warehouse where the SKU is stored.
- AdjustmentQty – The adjustment quantity.
- AdjustmentReason – The adjustment reason.
- LocationNotes – Notes related to the product’s storage location within your warehouse.
- _ACTION_ – To delete existing adjustments, use the column header _ACTION_ and populate it with _DELETE_ in your template.
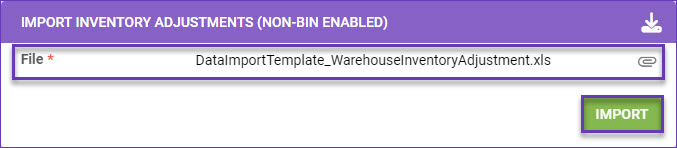
- Once done, save the file and return to the Admin portal.
- Click File and upload the saved file.
- Click Import. A Queued Job will be generated, from which you can monitor the status of the import.
Import Physical Inventory
The Import Physical Inventory tool lets you set the current Physical Inventory count for multiple products simultaneously using a file import. To import physical inventory data, follow the steps below:
- Navigate to Products > Tools > Import Product Info.
- Select Import Physical Inventory.
- To download a sample template, select your preferred file format (TAB Delimited, CSV or Excel) and click the Download icon.
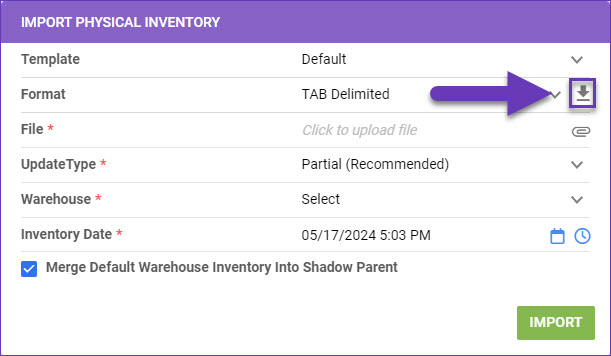
- Fill out the template and return to the Import Physical Inventory panel.
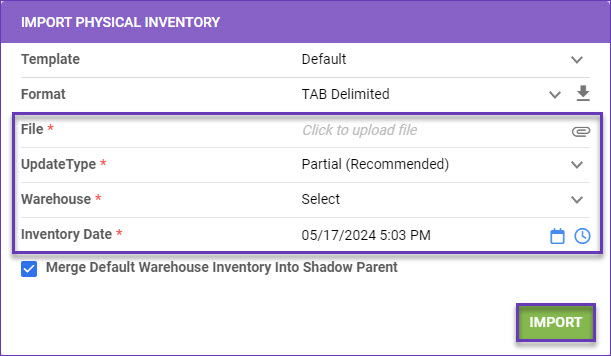
- Click the File field and select the appropriate file from your computer.
- In the Update Type field, specify whether you want to perform a Partial (Recommended) or Full Inventory Count. Refer to the table below for a definition of each type.
- Select the warehouse you are performing the update for and the inventory date.
- Click Import. A Queued Job will be generated, from which you can monitor the status of the import.
|
UPDATE TYPE |
DESCRIPTION |
|
Partial |
(Strongly Recommended) A partial inventory import will only update the SKUs and respective warehouse(s) entered in the file. We recommend performing a partial inventory import because it is the safest option. Unlike a full import, partial imports will not affect SKUs missing from the file, eliminating any possibility of error. |
|
Full |
Similar to a partial update, full imports will update the SKUs and respective warehouse(s) entered in the file with the specified values. Any SKU that is missing from the file will have its inventory zeroed out. This is why we recommend using a partial upload unless you want to zero out the products outside of your import file. |
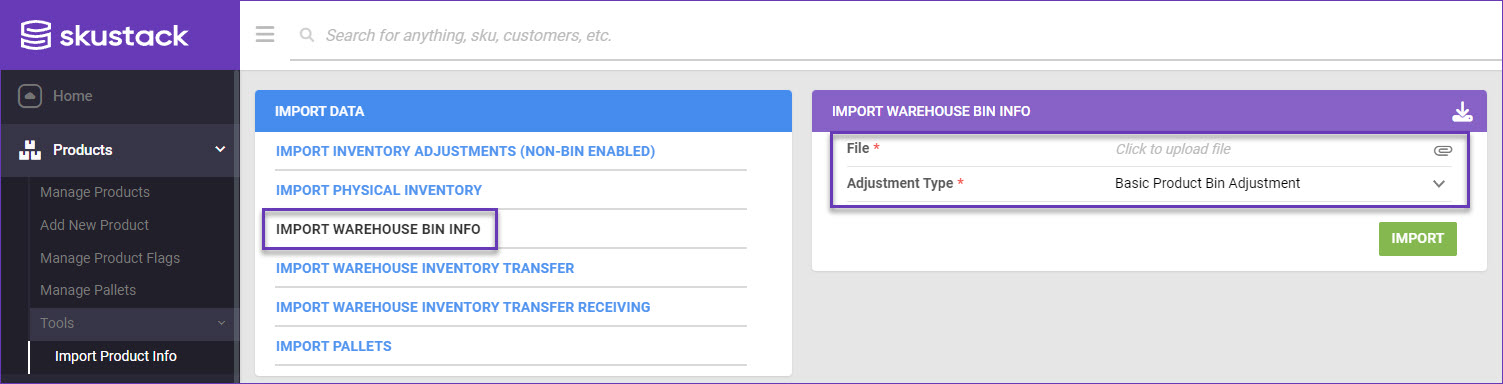
Import Warehouse Bin Info
The Import Warehouse Bin Info import enables you to initialize or update bins using a template. A shortcut to this functionality can also be found in the Bins section. Further information can be found here.
Import Warehouse Inventory Transfer
With Skustack’s Import Warehouse Inventory Transfer, you can simultaneously create multiple Warehouse Inventory Transfers (WITRs) with status Pending. To achieve this:
- Navigate to Products > Tools > Import Product Info.
- Select Import Warehouse Inventory Transfer.
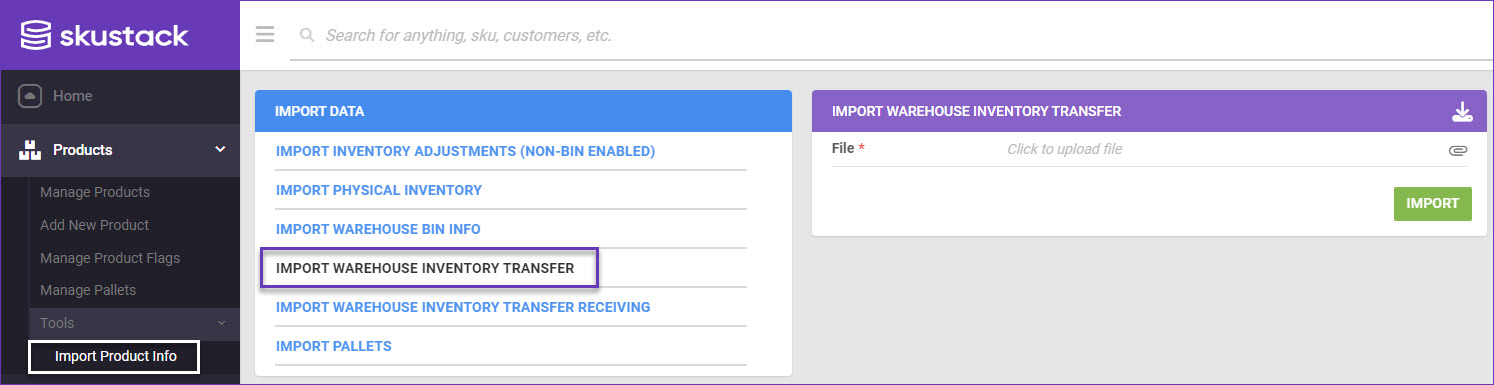
- Click the Download icon at the top right of the Import Warehouse Inventory Transfer panel to download a spreadsheet template in the desired format (TAB Delimited, CSV or Excel).
- Populate the columns in the downloaded template:
- Title – The transfer’s unique identifier.
- FromWarehouseID – The ID of the warehouse from where the SKU will be transferred.
- ToWarehouseID – The destination warehouse ID where the product will be received.
- InterimWarehouseID – An interim warehouse ID, through which the product will be transferred.
- Notes – A transfer specific entry can be added into this field.
- ProductID – The transfer product SKU.
- TotalQty – The transfer quantity.
- BoxNumber – Transfer box ID, if applicable.
- Save the populated template and return to the import prompt.
- Click the File field and select the appropriate file from your computer.
- Click Import. A Queued Job will be generated, from which you can monitor the status of the import. Once processed, the transfers will be generated in the system with status Pending.
Import Warehouse Inventory Transfer Receiving
The Import Warehouse Inventory Transfer Receiving option is particularly useful to receive multiple pending Warehouse transfers at the same time. Utilize this feature in a few simple steps:
- Navigate to Products > Tools > Import Product Info.
- Select Import Warehouse Inventory Transfer Receiving.
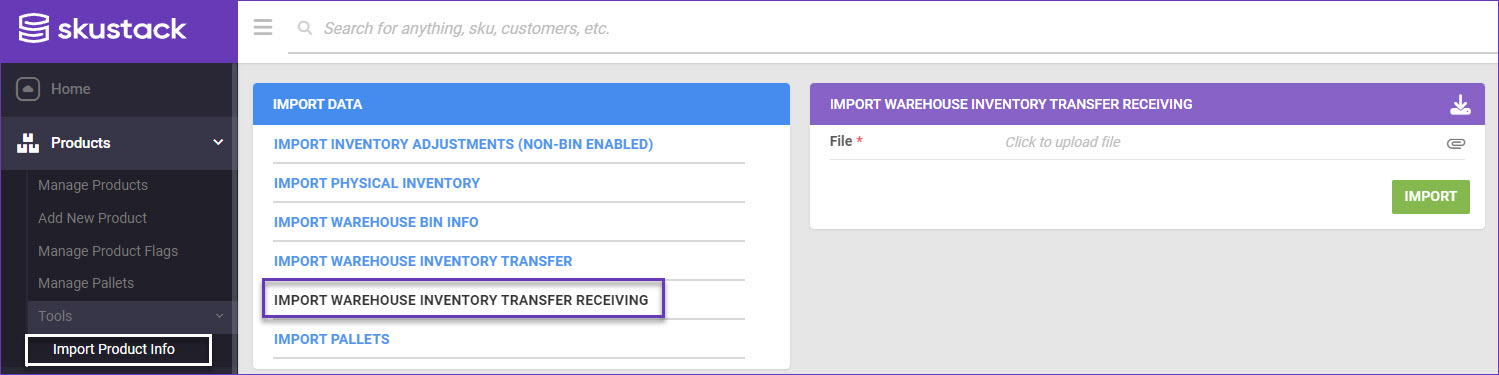
- Click the Download icon at the top right of the Import Warehouse Inventory Transfer Receiving panel to download a spreadsheet template in the desired format (TAB Delimited, CSV or Excel).
- Populate the file columns as follows:
- RequestID – Enter the Warehouse Transfer ID that you intend to receive.
- ProductID – The product SKU you are receiving.
- QtyReceived – The quantity to receive.
- Once done, save the spreadsheet and return to the import prompt.
- Click the File field and select the appropriate file from your computer.

- Click Import. A Queued Job will be generated, from which you can monitor the status of the import. Once processed, the indicated transfers will be marked as Completed in the system.
Import Pallets
Skustack’s Pallets are distinct groups of units that are not associated with specific bins upon creation. The Import Pallets tool is a convenient functionality that allows you to manage them in the system via a file import. Further information about Pallets can be found here.