
Overview
In this article, we’ll take you through the initial steps of getting started with Skustack and its features. Our step-by-step instructions will help you install the application and configure the essential settings required to manage your bins seamlessly.
- By emailing [email protected]
- By calling +1 (888) 315-6652
- By booking a free consultation
Install Skustack
To install the Skustack application on your handheld device:
- Based on your device’s operating system, download the latest version of Skustack from either:
- iOS Users: Apple App Store.
- Android Users: Google Play Store.
- After the download is complete, the Skustack icon will appear in your app list.
- Open the Skustack app and Log In with your credentials.
- Follow the prompts to complete the Device Registration process.
Manually
If you already have the latest version on another device (PC), and prefer to install it manually:
- Connect the device to your PC via USB. The USB storage connector must be enabled on the device. Enable Use USB to transfer files.
- On your PC, copy the Skustack app and paste it into any folder on the device.
- Open your device’s file manager, locate the APK file and install it.
- Complete steps 3 and 4 as described above.
- Screen Density: hdpi (1.5)
- DPI Density: 240
If a device does not have that screen and dpi density, certain pages might cause the app to crash and certain images / UI components will not show up properly.
Enable Warehouse Bins
There are certain settings in the Skustack Admin portal that must be configured in order to enable bins for your account. To do that:
- Navigate to the Skustack Admin portal at https://xx.skustack.com (replace “xx” with your server ID or team name).
- Enter your login credentials.
- On the left, select Settings > Client settings.
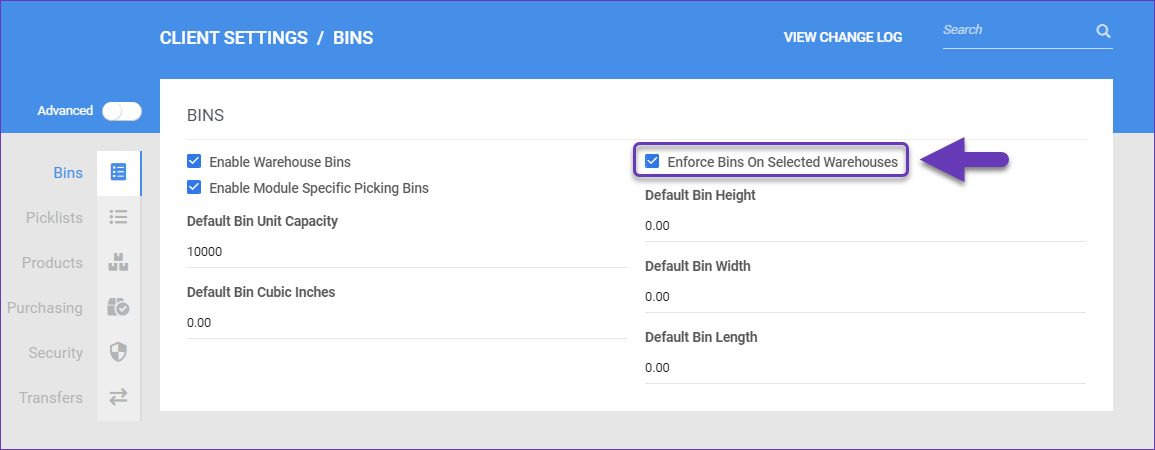
- Select Enable Warehouse Bins. This will enable bin management for your account.
Client Setting Enable Warehouse Bins should not be enabled without the assistance of your onboarding representative or Sellercloud Support!

- Select Enforce Bins on Selected Warehouses. This setting allows bin management to be enabled for specific warehouses. For example, FBA warehouses should never be bin-enabled.
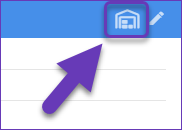
- Next, go to Settings > Manage Warehouses. Open the desired warehouse and enable Inventory Managed Strictly Per Bin from the Actions menu.
The Inventory Managed Strictly Per Bin setting should not be enabled without the assistance of your onboarding representative or Sellercloud Support!

- By enabling the Inventory Managed Strictly Per Bin, the inventory in that warehouse will be calculated based on items in the bin. When this setting is enabled, any inventory in the warehouse will be lost. You will need to import bin quantity or manually add inventory into your bin.
- Inventory that is added to the warehouse (i.e. through a PO) or inventory that leaves the warehouse (i.e. through shipped orders or FBA inbound shipments) must be added to/picked from a bin. Failure to do so will result in inaccurate product inventory.
- Inventory in a non-selected warehouse will be calculated using the regular warehouse inventory calculation.
- To access your bins:
- Click Bins > Manage Warehouse Bins, or;
- Click Settings > Manage Warehouses > Select your desired warehouse > Manage Bins.
The following Client Settings should also be enabled:
- Always deduct inventory from Shadow Parent. This controls whether orders for Shadow Products deduct physical inventory from the parent product’s inventory or from the shadow inventory. When this option is enabled, the order will always display the shadow parent.
- Enable Pick List Generation by Warehouse. Picklists will be generated based on the warehouse and the picklist will only be able to be opened in Skustack in the warehouse it was generated for.
- Default Product Kit Type. This should be set to Independent.