
Overview
To avoid revenue loss, products in compromised condition (e.g. in damaged packaging, with missing parts, etc.) can undergo various maintenance procedures to improve their state. In Skustack, Repair Work Orders can be created for such products to initiate and track required restoration tasks within a chosen time frame. Repair Work Orders can be generated from existing Grading Work Orders or set up manually.
Creating Repair Work Orders is only possible through the Skustack Admin, while managing existing ones can be done through the Skustack application, where you can add and oversee repair instructions and costs.
Manage Repair Work Orders
The Skustack application enables you to easily view the guidelines required to repair a unit.
To manage Repair Work Orders:
- Navigate to the Work Order module and search for the desired Work Order.
- Open the Repair Work Order and swipe left to reveal shortcuts to other actions:
- Bins – Tap the icon to see all bins where the product is stored (bins will show only if you’re logged into a bin-enabled warehouse).
- Info – Tap to open the Product Info module.
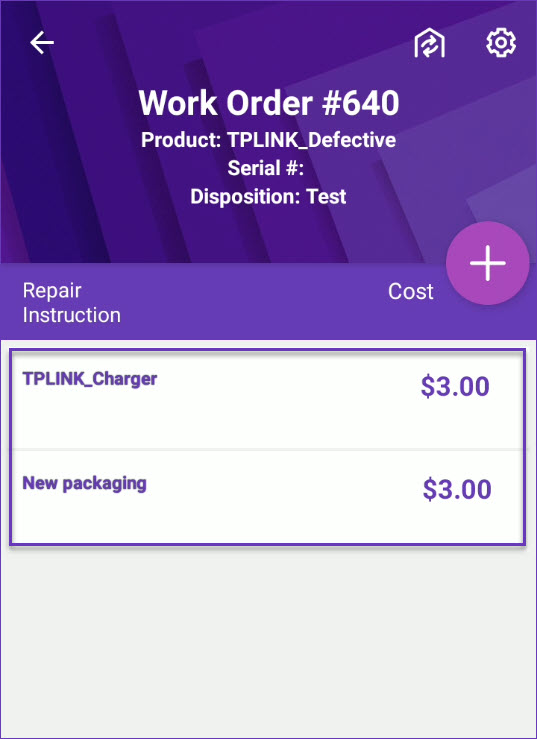
- Tap the Work Order to display products to be repaired. Tap a product to view its list of Repair Instructions. The # of Repairs indicates the number of existing instructions.
Repair Instructions
When you open the list of Repair Instructions, you’ll see the restoration tasks and their corresponding costs.
Add Repair Instructions
To add a new instruction and its cost to an existing Repair Work Order:
- Tap the + icon.
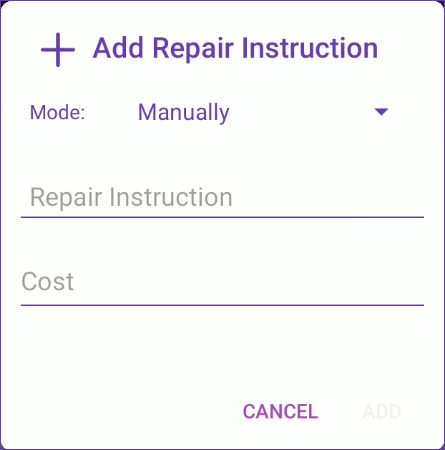
- Choose a Mode to add the instruction:
- Manually – Populate the Repair Instruction, its Cost.
- ProductID – This mode gives you the option to enter/scan existing products that should be included in the repair (e.g. new charger, new lightbulb, etc.).
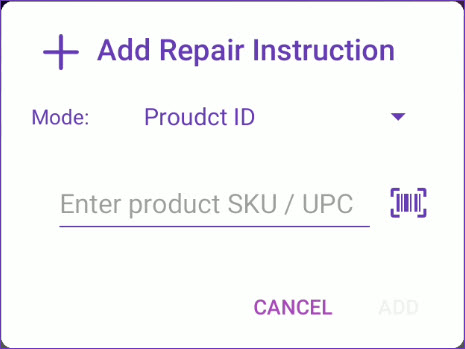
- Tap Add. The new instruction will appear in the list of repairs.
Create Repair Work Orders
The Skustack Admin portal enables you to create Repair Work Orders in two ways:
- From graded units in Grading Work Orders (recommended). Unit information, such as serial numbers or unique identifiers, is carried over automatically.
- Via a standard Work Order of type Repair. Unit information must be added via a file upload.
From Grading Work Orders
When products evaluated in Grading Work Orders require repair, you can initiate Repair Work Orders directly from the graded units:
- Navigate to the Skustack Admin portal at https://xx.skustack.com (replace “xx” with your server ID or team name).
- Enter your login credentials.
- Go to Work Order > Manage Work Orders and open the required Grading Work Order.
- From its Toolbox, select Manage Units.
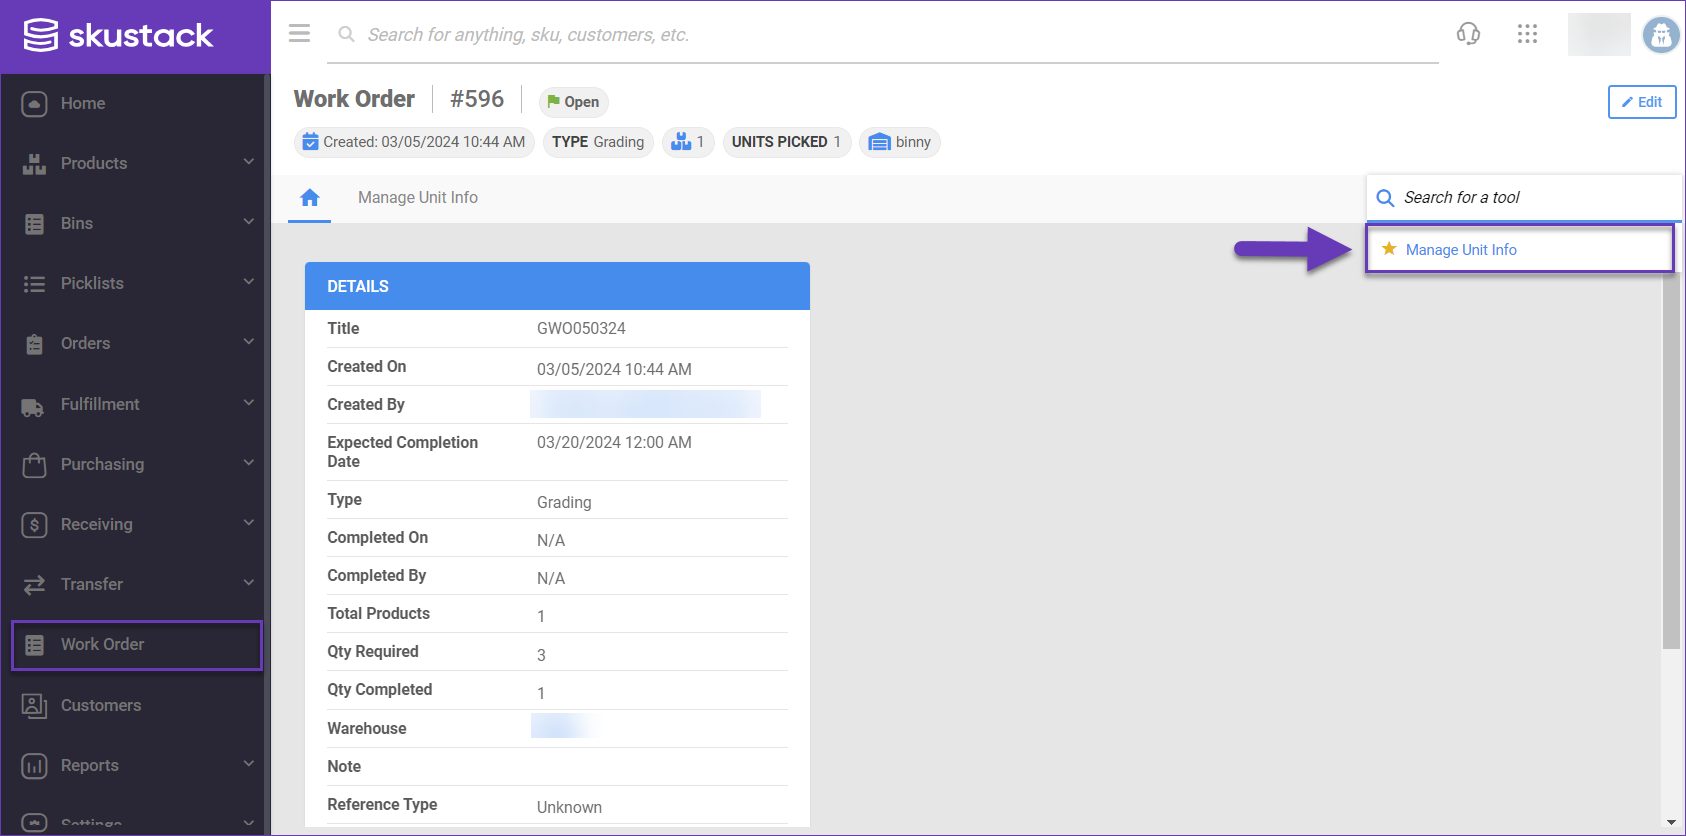
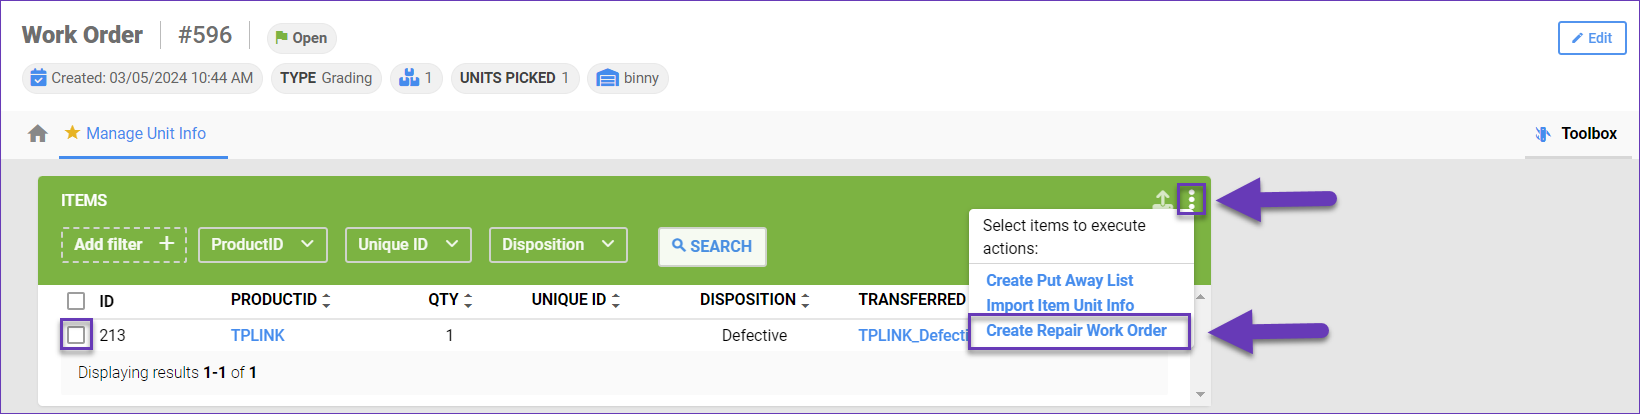
- Choose which unit to repair, click on the three dots in the Items panel and select Create Repair Work Order.
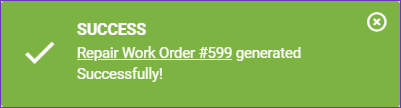
- A success message with a link to the newly created work order will appear on your screen. The graded unit’s details will be automatically added to the new Repair Work Order.
Manual Setup
To manually set up a Repair Work Order:
- Navigate to Work Order > Manage Work Orders and click the green Plus icon.
- Select:
- Work Order Title – A task name.
- Work Order Type – Repair from the dropdown menu.
- Warehouse – The affected warehouse.
- Expected Completion Date – Estimated completion time.
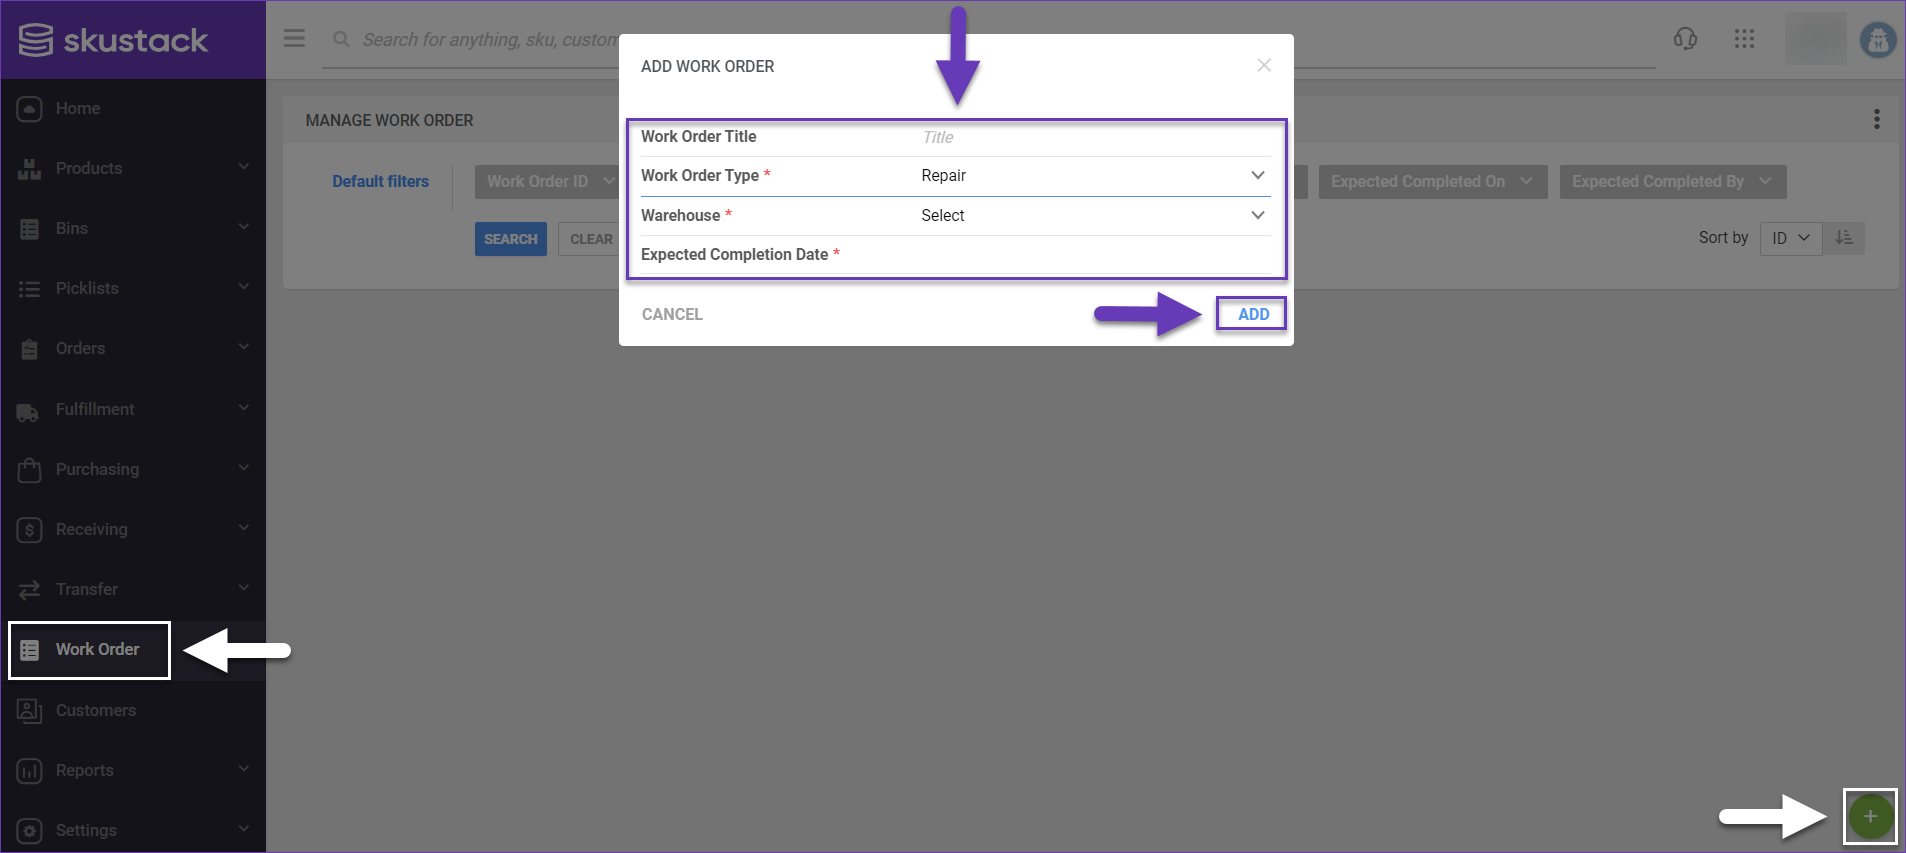
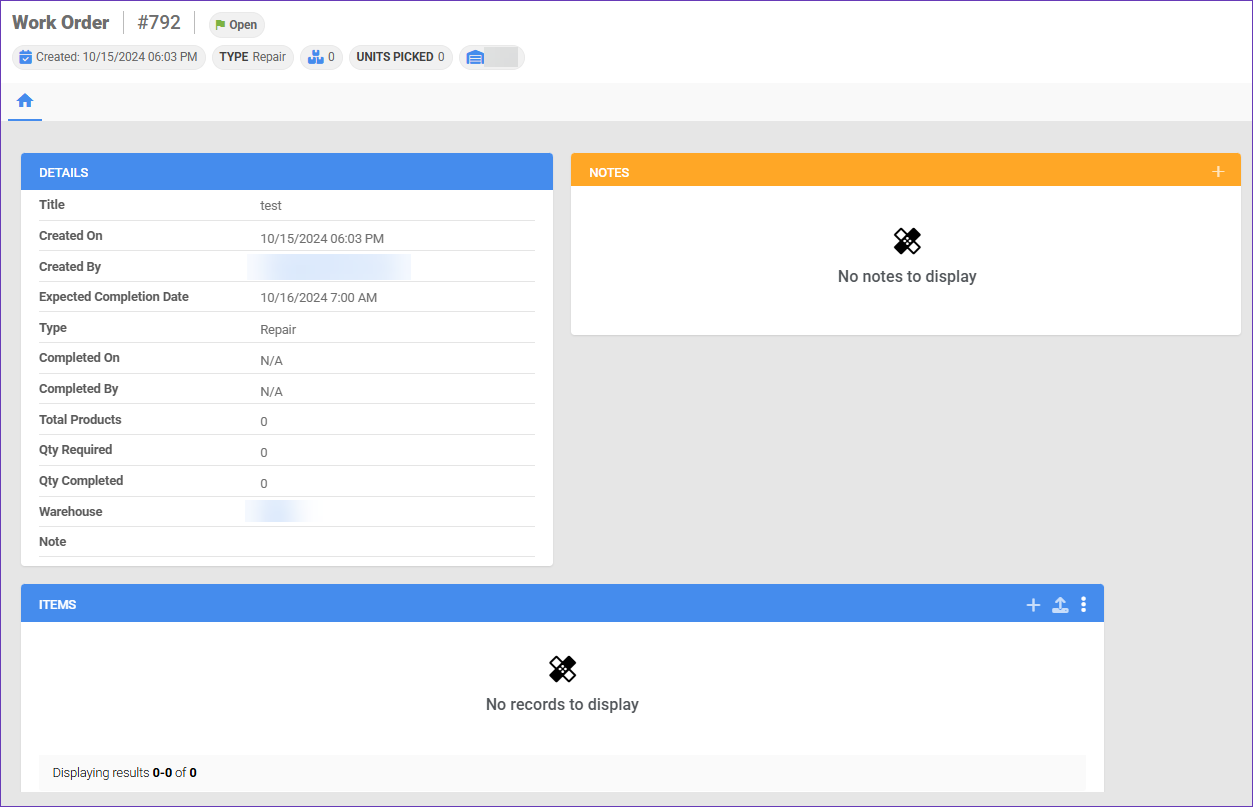
- Click Add, and the new Repair Work Order will load on your screen.
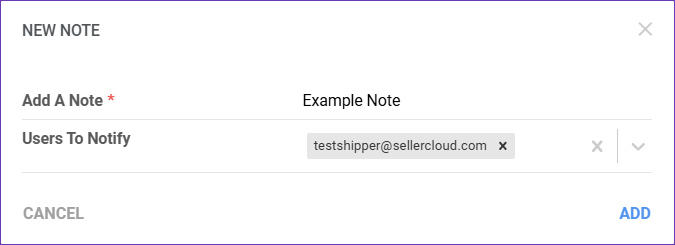
- (Optional) Add Notes with any custom requirements or additional information. Users you tag will receive the note as a notification in the Admin Portal and in Sellercloud’s Delta interface.
Add Products
Next, add items for repair. You can do this both individually and in bulk.
Individually
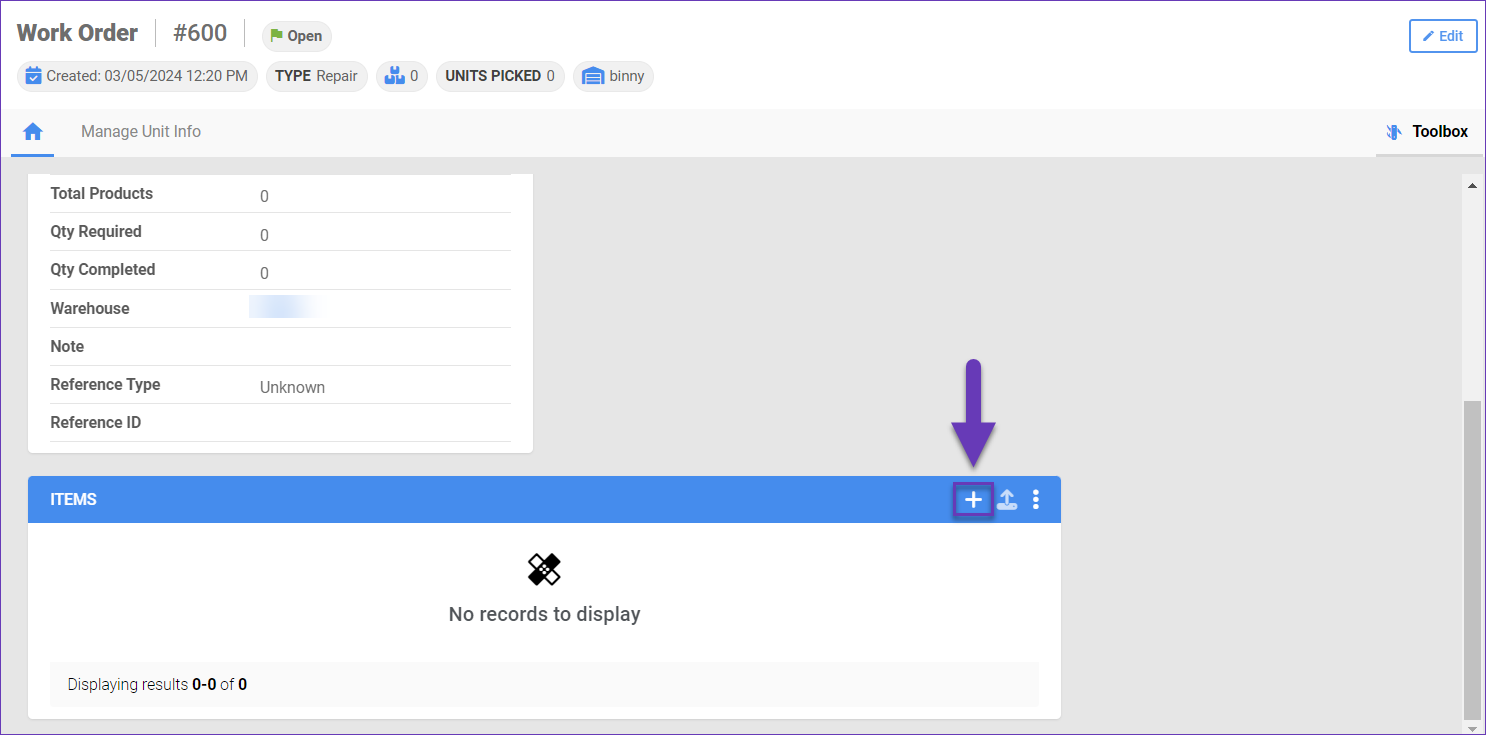
- Navigate to the Items panel and click the + icon to add products.
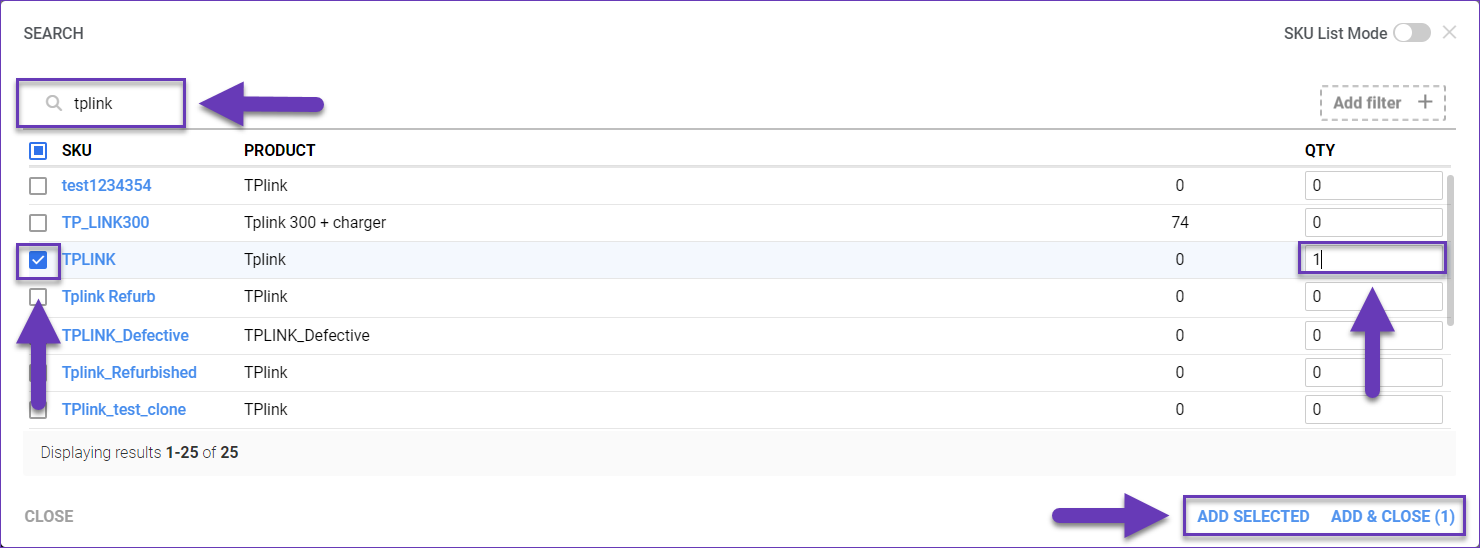
- Search and select your desired products in the grid.
- Enter the quantity for each item.
- Click Add Selected to continue adding more products or Add & Close.
In Bulk
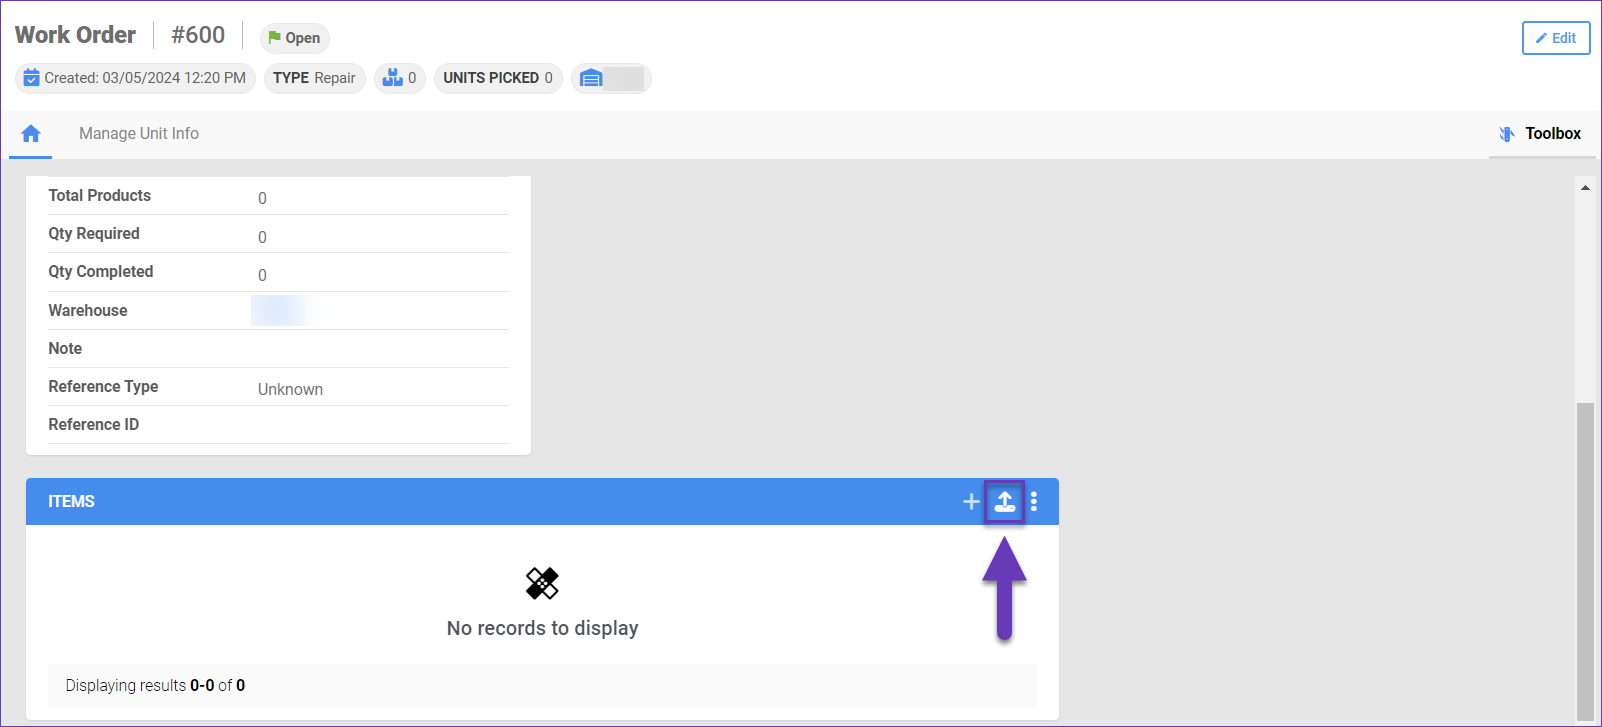
- Navigate to the Items panel and click the Bulk Import icon.
- Click Download Template to generate a pre-populated file with all of the required columns.
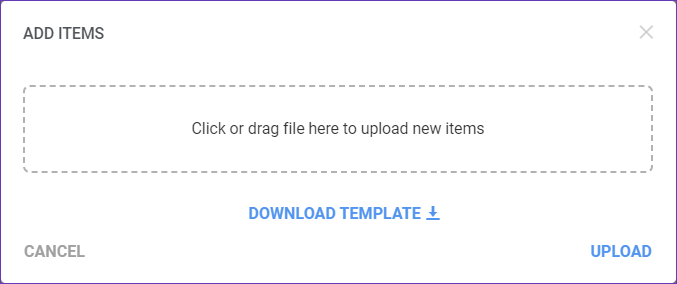
- Populate the required values (ProductID, WarehouseName, and TotalQtyRequired), save the file, and drag it back onto the grid.
- Click Upload and the product(s) will appear in the Items panel.
Manage Unit Info
The product’s unique identifier, repair instructions and associated costs are managed on the Repair Work Order’s Manage Unit Info page.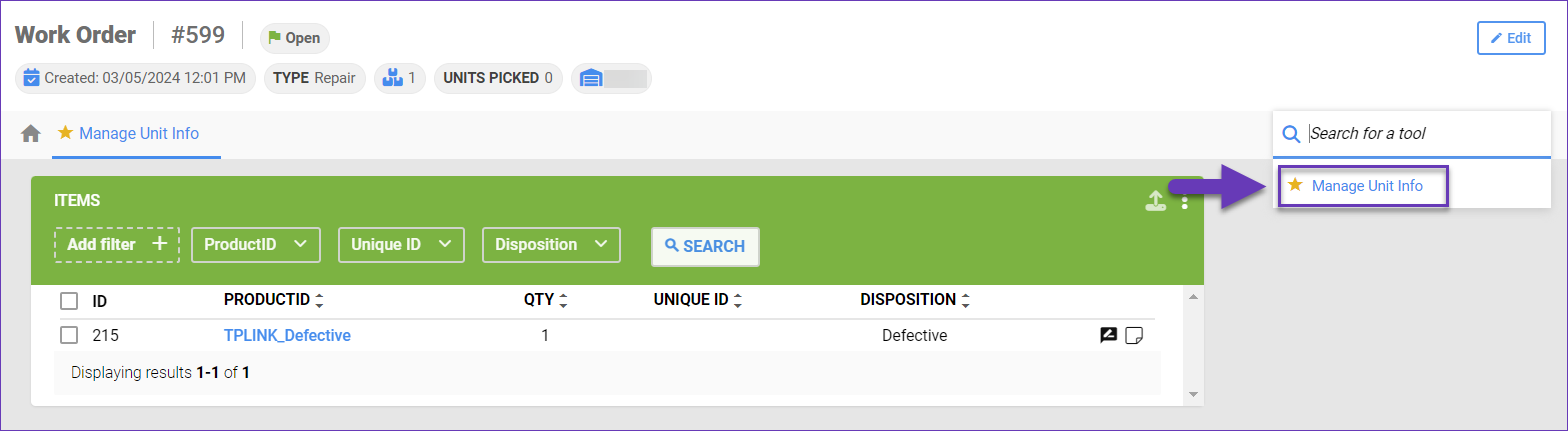
To specify unit-level data:
- Navigate to the Work Order section and open the required order.
- From the Toolbox, select Manage Unit Info.
- In the Items panel, click the Bulk Import icon.
- Click Download template and save the file.
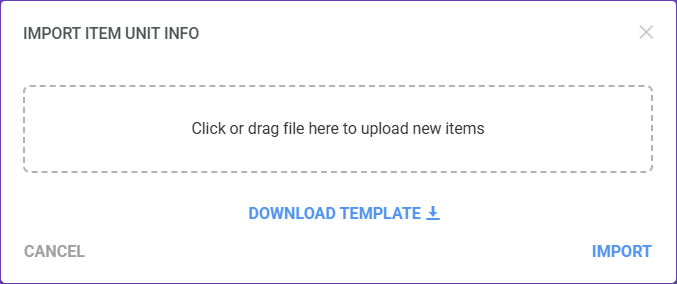
- Populate:
- UniqueID – Serial number or unique identifier.
- Optional: JsonInfo and Disposition (repair instructions, condition, etc.).
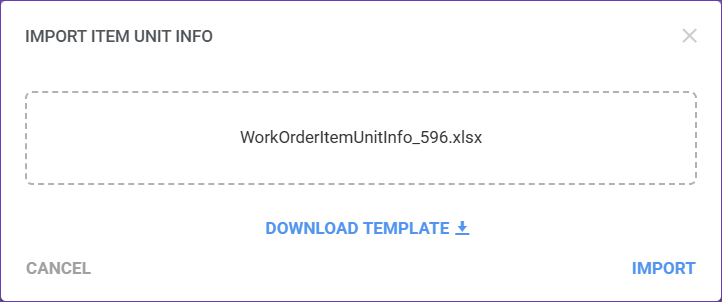
- Save the populated file, then return to the Import Item Unit Info popup to upload it.
- Click Import. Once the file is imported, each unit is individually tracked within the work order.
Before proceeding, ensure that all products are added, unit information is fully populated, and quantities match expectations. At this stage, the work order is ready for execution.
Repair Instructions
In the Items panel, next to the product’s disposition, you can add unit-specific Repair Instructions.
Populate the required repair steps and their respective cost and click Add.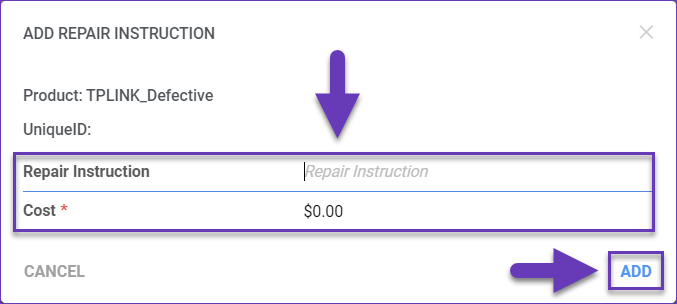
The new instruction can be displayed by clicking the View Instructions icon.
The list of Repair Instructions will appear.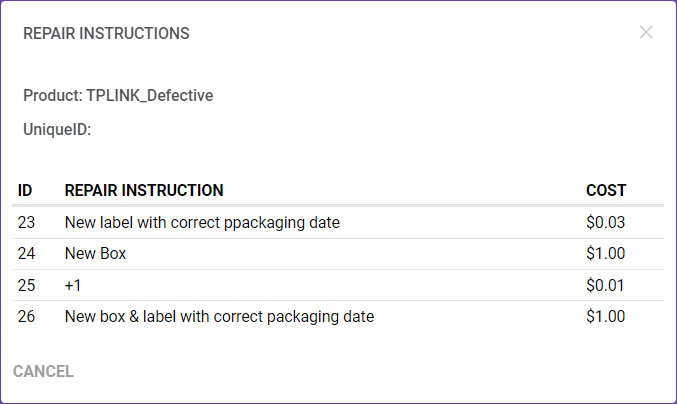
Create Put Away Lists
In the Items panel, you can create a Put Away List for the unit. Simply select the required unit’s checkbox, click the three dots menu, and select Create Put Away List.

Manage Repair Work Orders
In addition to creating new work orders, you can utilize the Admin portal to:
- Delete – Permanently delete existing repairs.
- Close – Move work orders to a Closed status.
- Export – Export an Excel sheet with basic Repairs information.
- Export to Excel with Qty – Export an Excel sheet with Repairs information, including affected quantity
Simply check the desired work orders, click the Action icon in the bottom-right corner and choose the required activity.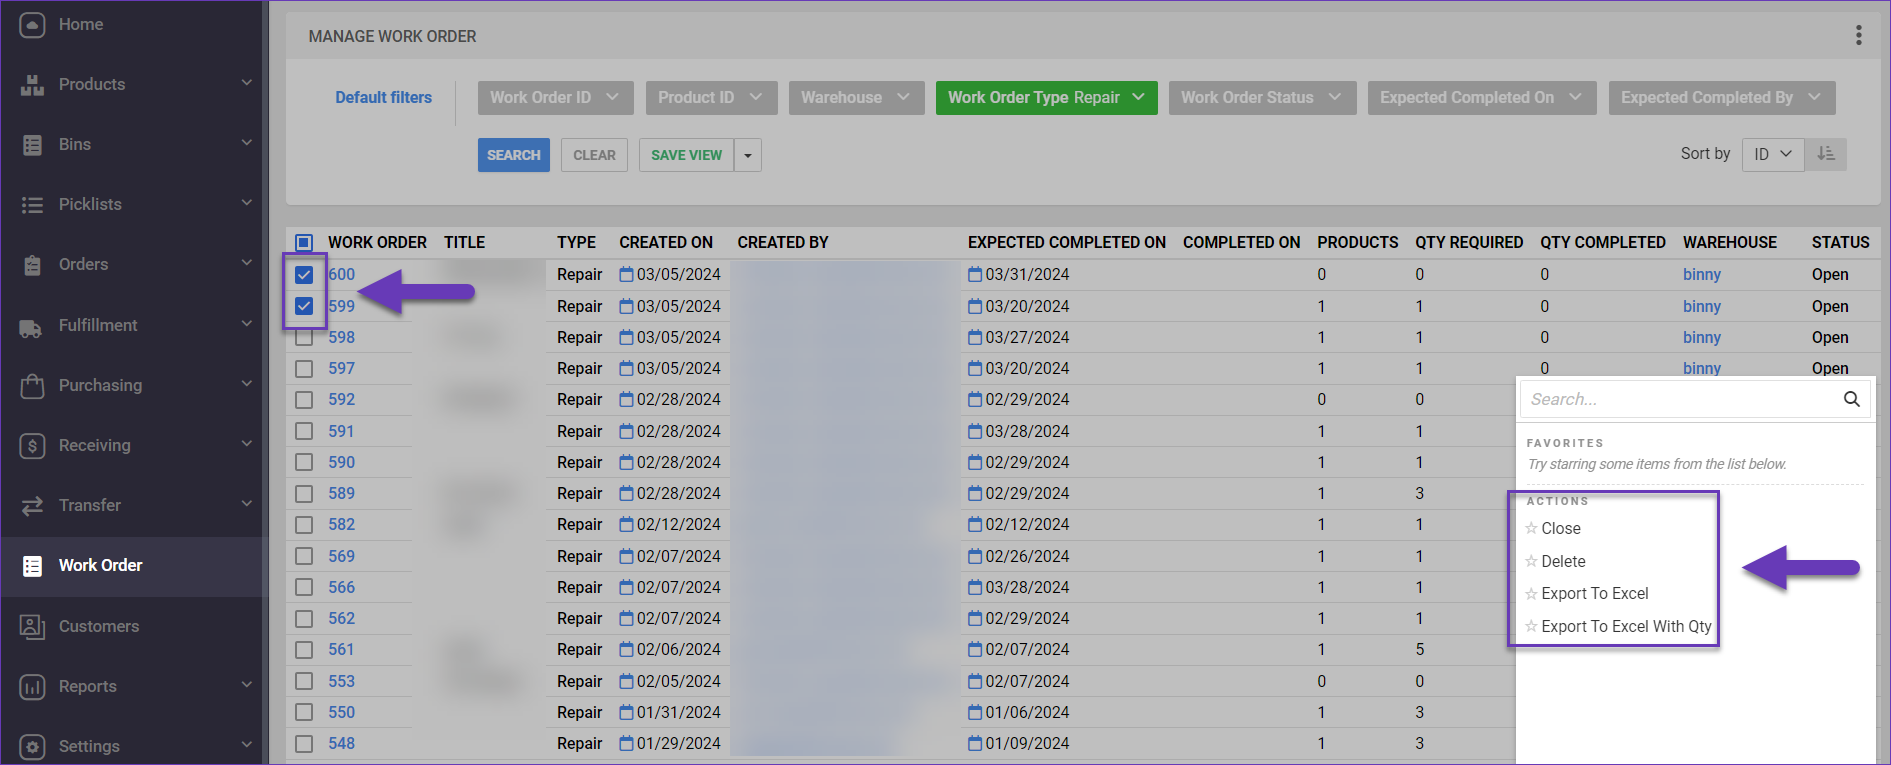
Related Settings
| SETTING | DESCRIPTION |
| Validate serial globally | Client setting. Enables serial number validation in Skustack. Learn more about serial number validation and relevant client settings here. |
| Require Component Serial Scan If Necessary | Skustack’s Warehouse Management setting. When enabled, will force the user to scan serials for components that are set to require serial scan. |
| Allow Unlock Work Order | Skustack’s Warehouse Management setting. When enabled, this setting allows you to edit/add products to Work Orders. |
| Auto populate progress quantity when bin is selected | Skustack’s Warehouse Management setting. When a bin is selected, the Pick Qty field will automatically be set to the total quantity available in that bin, up to the quantity required. |
| Auto print new product labels | Skustack’s Warehouse Management setting. Automatically print out a label for new products after the transfer is complete. |